5 Fun Camping Snacks the Whole Family Will Love!
We’re sharing our favorite camping snacks for kids, which we also know the rest of the family will enjoy too!
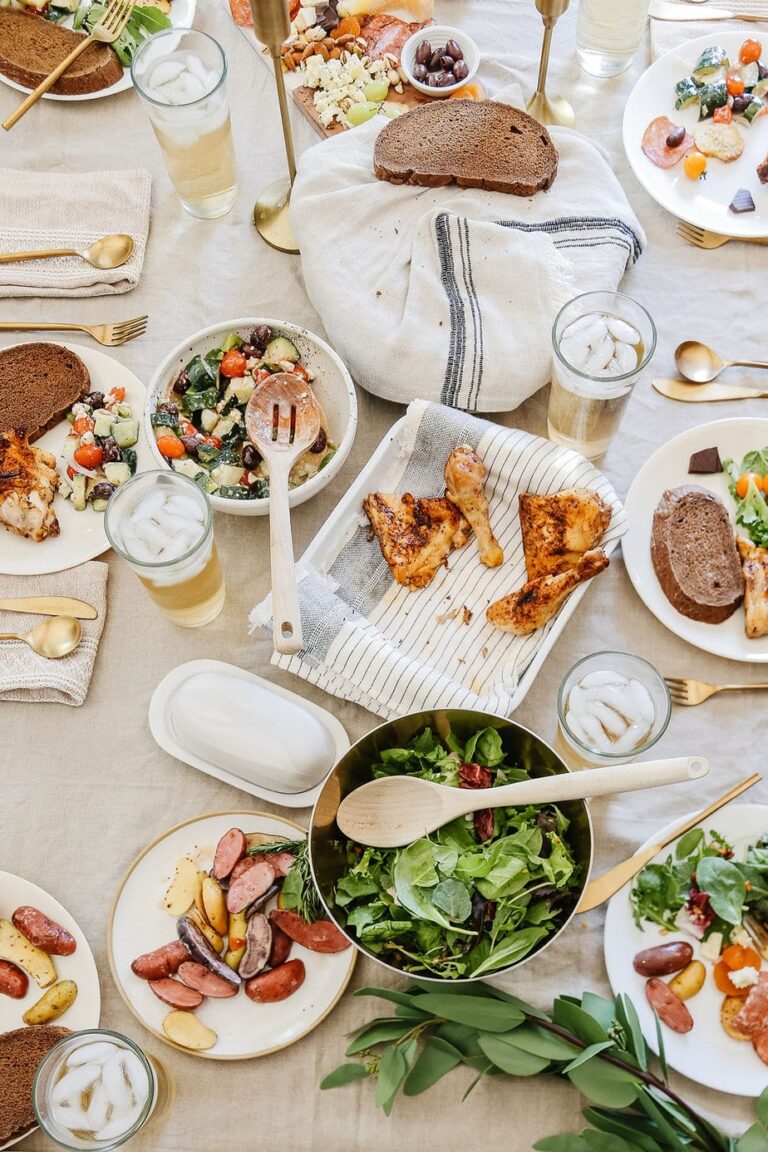
Ahh camping! Those that love it, really love it, and we get why. Whether you are a tent camper, RV camper, or cottage camper, there is nothing quite like the fresh air, delicious food, and outdoor fun.
One of our favorite things about camping is the food. Nothing beats a perfectly toasted marshmallow, gooey s’more, or roasted cooked hotdog on an open flame. For this summer, we wanted to kick the fun up a notch and bring you a few brand-new, easy-to-pull-together camping treats we know your kids (and the rest of the family) will love. We also made sure these were easy to make before, to save you time and patience making them.
Keep reading to find out all our favorite camping snacks for kids and adults.
Fun Camping Snacks for Kids (and the Rest of the Family)
These fun camping snacks for kids are so easy to pull together, and our short instructions for each treat are below! As a bonus, we included a shopping list to recreate our exact items for easy grocery shopping or ordering.
Bon appetite!
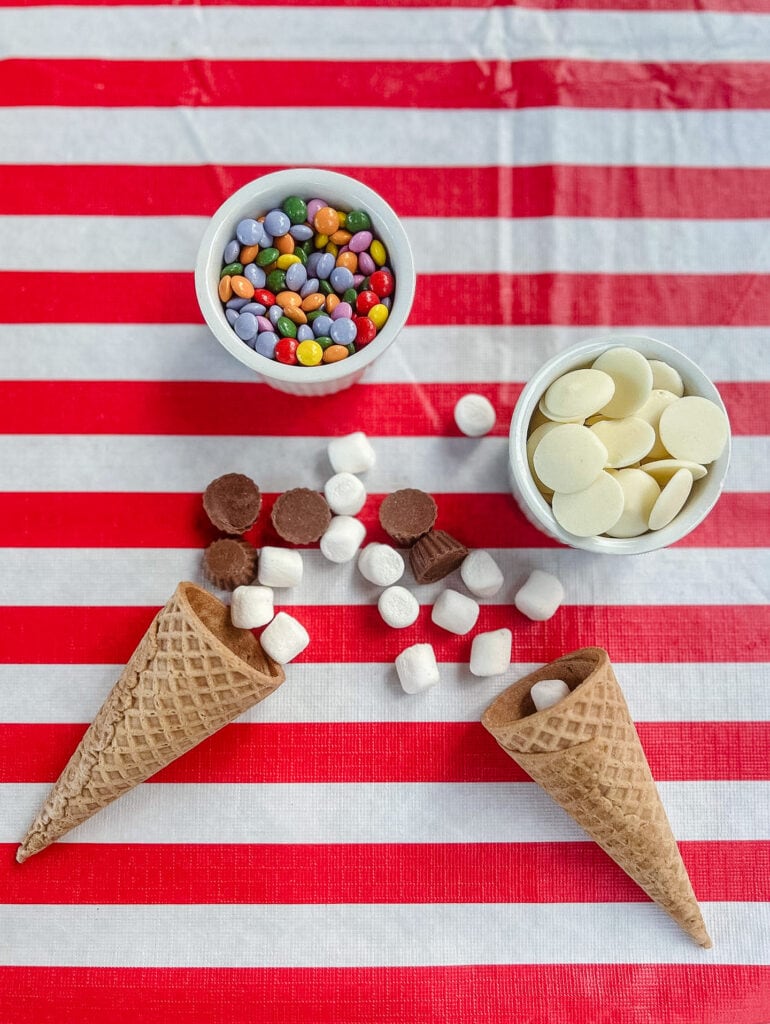
Campfire Cones
Campfire cones are the ultimate way to get the kids involved in a fun summer evening treat. The theory behind this sweet treat is to stuff your favorite chocolatey treats inside of a sugar cone, add in some mini marshmallows and tightly wrap it in tinfoil.
Ingredients
Once your items are securely wrapped, all you need to do is toss your cone in the coals of the fire or on top of the grate (or bake them in your oven if the weather is not in your favor) until you have a perfectly gooey sticky mess. Your cones will only need about 5 minutes to reach the perfect consistency (5-7 minutes in a 400-degree oven will render the same results). These cones are a fun twist on classic S’mores and have endless options for customization.
INSTRUCTIONS
- Pack sugar cones with mini marshmallows, and your favorite sweet treats (we loved mini marshmallows, mini smarties, mini peanut butter cups, and white chocolate disks)
- Wrap tightly in tinfoil and place in the coals of the open fire, or on a top grate
- You can also bake in the oven for 5-7 minutes at 400 degrees
- It takes 5-minutes for your cones to be perfectly cooked and gooey
Some of our favorite ingredients to pack in our cones are, marshmallows, mini smarties, mini peanut butter cups, and white chocolate disks (which you can all purchase from the Bulk Barn)!
The fun thing about this camping snack for kids is you can choose their favorite ingredients. We’re planning to try mini-Rolos, butterscotch chips, nuts, M&M’s, and even salty chips on our next camping trip! What will you add to your cones?
Homemade No Churn Ice Cream
Homemade ice cream may sound scary, especially when it comes to camping snacks for kids but we promise this 3-ingredient treat will be your family’s new summer favorite. This recipe does require a freezer to set, so perfect for a powered RV or cottage camping. What is nice about making homemade ice cream is that you can customize it with any flavors or ingredients that you want. For our recipe, we used mini Oreo cookies. Mini eggs, smarties, crushed chocolate chip cookies, or even chocolate chips would work great!
Ingredients
In a large bowl, add 2 cups of heavy cream (we used whipping cream) and whisk on high for several minutes until it forms stiff peaks. We always use a hand mixer or KitchenAid mixer for this part! In a separate bowl, whisk together 1 can of sweetened condensed milk and 2tsp of vanilla extract. Mix until combined. Next, scoop half of the whipped cream into the condensed milk and gently fold it together. Be gentle; you want this dish to remain light and fluffy! Fold the remaining whip into the same bowl, continuing to be gentle.
INSTRUCTIONS
- In a large bowl, add 2 cups of heavy cream (we used whipping cream)
- Whisk on high for several minutes, we used a hand mixer or KitchenAid
- In a separate bowl, whisk together 1 can of sweetened condensed milk
- 2 tsp of vanilla extract
- Mix until combined
- Scoop half of the whipped cream into the condensed milk, gently fold together
- The lighter hand the better (add toppings of your choice)
Now, gently fold in your treat of choice. We used one entire bag of mini-Oreo cookies that we crushed up inside of the bag to make tiny pieces (the kids will love doing this part!).
Pour the mixture into a loaf pan and place in the freezer for 3 hours.
Once you’ve patiently waited for the time to pass, you can now enjoy the creamiest and easiest homemade ice cream going. We know this treat is going to be a new regular in your family’s rotation.
Snackle-Box
While we can’t take credit for this idea, we’re so in love with this concept that we just had to recreate it for ourselves.
Ingredients
Using a clean and empty fishing tackle box (we purchased THIS ONE from Amazon), we simply filled each slot with one of our favorite snacks. Since we knew this was going to be used in the car for a hot summer road trip and then later at the beach, we avoided many chocolate-based items as we knew they would melt. You can easily customize this snack box to your family’s liking. Goldfish, a win in your house; use those! Leftover mini marshmallows, throw those in.
INSTRUCTIONS
- Choose your favorite clean and dry tackle box
- Add your favorite dry snacks like Goldfish, Graham Crackers, Cheerios or Cookies
- You can add a mix of fruit or veggies and dips! The options are absolutely endless
If you want to make this an extra special treat, take your family with you to the Bulk Barn to pick out their treats. Because the containers are so small individually, you don’t need to spend a lot of money on items to go inside of them.
This same snack box concept can be used for a beach lunch. Use fresh fruit, veggies, mini crackers, hummus, cheese, smoked meats, etc., instead of nonperishable snacks for an extra fun summer beach lunch.
What do you think of our recent road trip choices? I love how the entire family can enjoy these snacks, not just the kids.
Campfire Nachos
This dish requires a little prep work ahead of time, but trust me when we tell you they are worth it. You can easily customize this recipe to include a protein element or keep them 100% vegetarian. If you are going to use meat, please ensure your ground meat of choice is fully cooked before using, as these nachos only touch the heat for a brief period, long enough to melt the cheese.
Ingredients
For this recipe, we are using a cast-iron pan for this recipe because of the even heat distribution and ability to withstand high heat. If you are interested in learning more about cast-iron pans and their many benefits, check out our previous post here.
In your cast iron pan (you could also use a disposal tin plate or pan for this recipe for extra easy cleanup), layer your nacho chips of choice on the bottom (we love corn nacho chips)! Next, layer a thin layer of your toppings of choice. We used crushed tomatoes, green onion, shredded lettuce, and chopped-up dill pickles with shredded cheddar cheese. Depending on how deep your cast iron skillet is, you may want to create two perfectly even layers.
Instructions
- In your cast iron pan add a layer of nacho chips on the bottom
- Followed by a thin layer of toppings (we like crushed tomatoes, lettuce, green onion, dill pickles, and shredded cheese)
- Create two perfectly even layers (can add cooked meat or make it vegetarian)
- Top again with cheese, and place cast iron on top of a low-burning fire pit.
- Keep the nachos on the heat until the cheese is melted
- Once they are cooked, top with some more green onions, and avocado
- Serve with sour cream and salsa
Once you have arranged your items and topped it with cheese, place it on top of the fire pit crate with a low-burning fire. You will only want to keep the nachos on the heat until your cheese is melted to your desired consistency, the same as if you did it indoors. We recommend watching these the entire time they are in the heat to avoid burning. Nacho chips are sensitive!
These nachos also cook perfectly well on a BBQ if that is your only source of heat. Just use a low heat setting. Once they are done, we topped with some more green onion and a bit of avocado. On the side are nacho staples: sour cream and salsa!
Walking Tacos
Similar to the nachos above, this quick and easy meal is simple to make, and the kids will love it.
Ingredients
For our recipe, we used cooked ground meat, shredded cheese, green onions, salsa, some crushed tomatoes, and a dollop of sour cream! If you had leftover nacho ingredients from above, this is a great way to repurpose those for day two of your camping trip.
Instructions
- Open a bag of lightly crumpled corn or nacho chips
- Add taco ingredients (ground meat, green onions, salsa, tomatoes)
- Give a quick shake
- Add a scoop of sour cream and shredded cheese
For this recipe, we suggest making the ground beef (or turkey) ahead of time and placing it in a Tupperware bowl. Do not mix ingredients together because they will get soggy. Next, pour all of your choice of “taco” ingredients into lightly crumpled corn or nacho chips. Shake gently, and top with a scoop of sour cream and shredded cheese. Don’t forget to grab a fork and you have tacos on the go!
What are your go-to camping snacks for kids? Does your family have a camping snack that you make every year that we should know about? We are always on the lookout for the next greatest thing. If you do happen to make one of these, tag us on Facebook or Instagram so we can see; you might just be featured on an upcoming blog!