Halloween Decorations: DIY Paper Bats
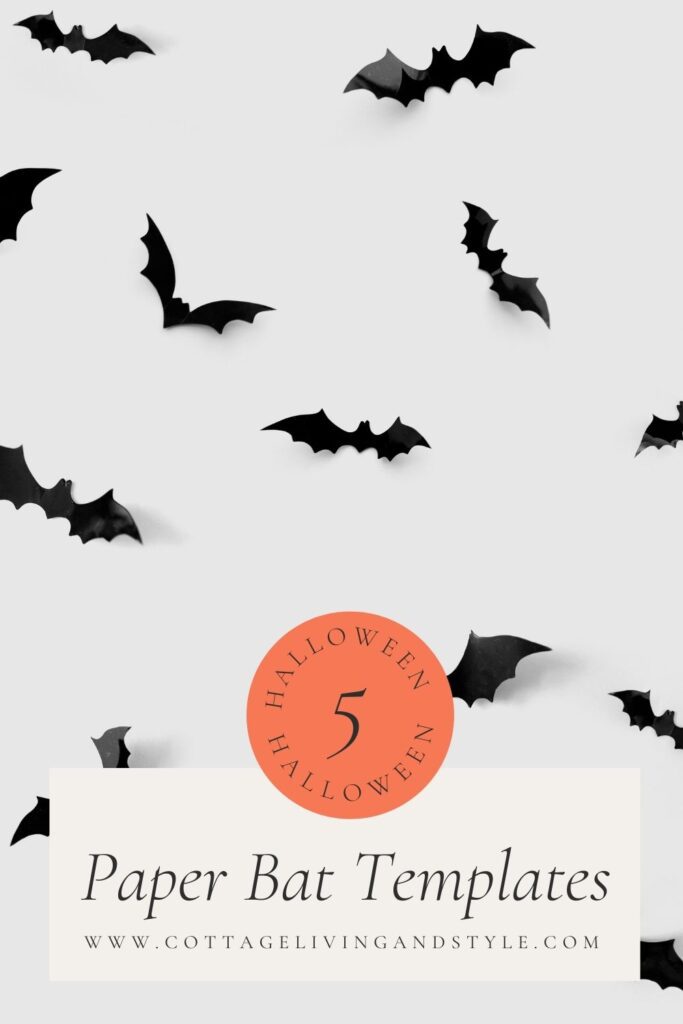
This article shares how to make your own DIY Paper Bats and 5 free bat templates.
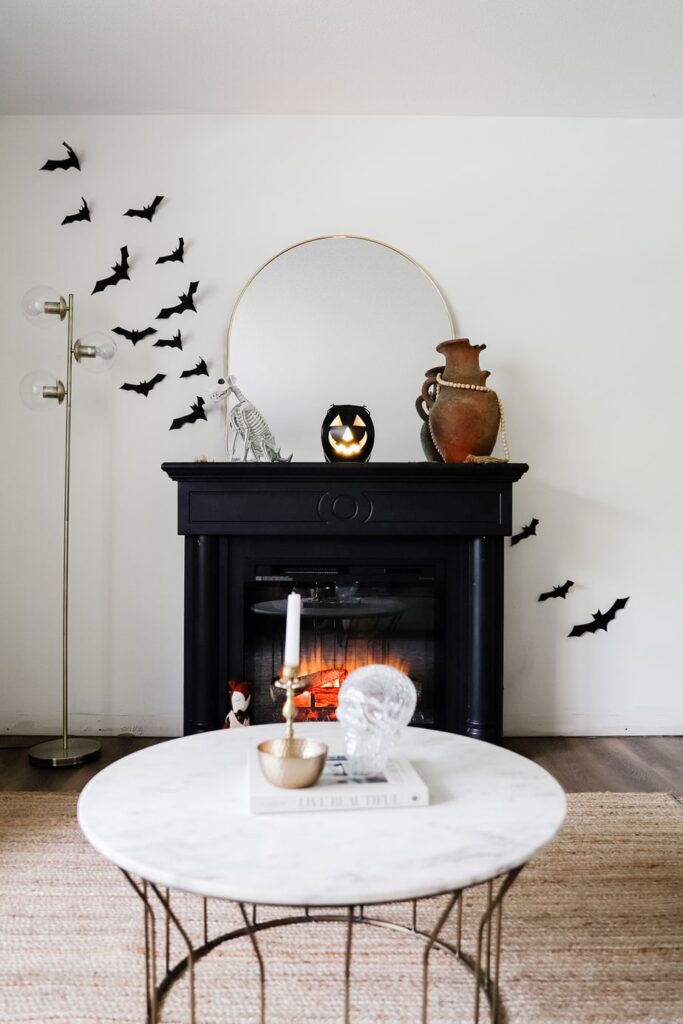
Halloween is fast approaching, and it’s the perfect time to decorate your home. Even though it’s Halloween it doesn’t mean your home has to look spooky, or creepy. Paper bats can make your overall Halloween decor look fun and even cute!
We made the bats look as if they were floating from the wall, but they can also be hung from the ceiling, or even attached to the front door. There are also so many ways you can style these bats on the wall.
Last year we stuck them around Penelope’s bedroom mirror as if the bats were circling it.
This year we wanted to add some Halloween decor to our newly painted black fireplace.
This Halloween DIY is perfect if you need a last-minute addition to your Halloween decor, or for a spooky but fun Halloween get-together.
Keep reading to find out the exact steps we used to make these quick and easy DIY Paper Bats.
DIY Paper Bats Tutorial
While you can certainly save these bats and reuse them year after year, we figured we would re-shoot them and share this Halloween craft on the blog.
Just a reminder if you are saving the bats for next year to take off any sticky tack left on them or they will be hard next year to remove.
The materials you will need:
- Card Stock or Construction Paper (we recommend card stock)
- Printer
- Our FREE bat template (see below)
- Scissors
- Pencil or White Chalk Pen
- Sticky Tack
- Bone Folder
Instructions:
This DIY will take around 20-30 minutes depending on the number of bats you are making.
Step 1
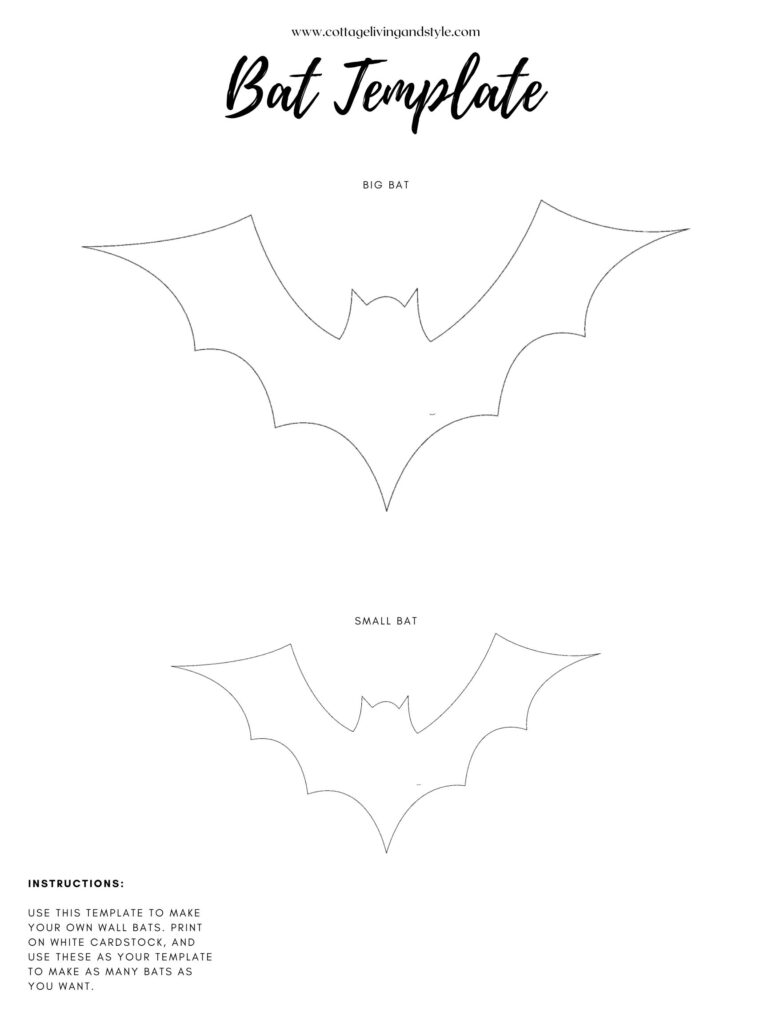
Grab your bat template by saving it below. Then print the template on cardstock or construction paper. If you don’t have either of them, you can use regular printer paper to trace your first bat which will be your new template.
The reason why we recommend card stock is because it’s much thicker than the other options, and holds its shape really well. Which is especially handy when tracing the number of bats we had.
Step 2
After printing the bats you will need to cut out the bat template we shared. Those will be used to trace out all your other bats. I used a pencil but you can also use a white chalk pen to do this part.

In the printable, I included two different-sized bats. One large and one small. I made about 1/3 of the bats large and the rest were the smaller bats. I just found it looked the best when we stuck them on the wall.
Step 3
This is where the fun starts. Figure out how many bats you want to make. We made about 20 and I used 12 small and 8 large bats (see step two for more information on sizes).

Step 4
This is where coffee or wine comes in handy. I literally sat and watched HGTV while I took my time cutting each bat out.

Step 5
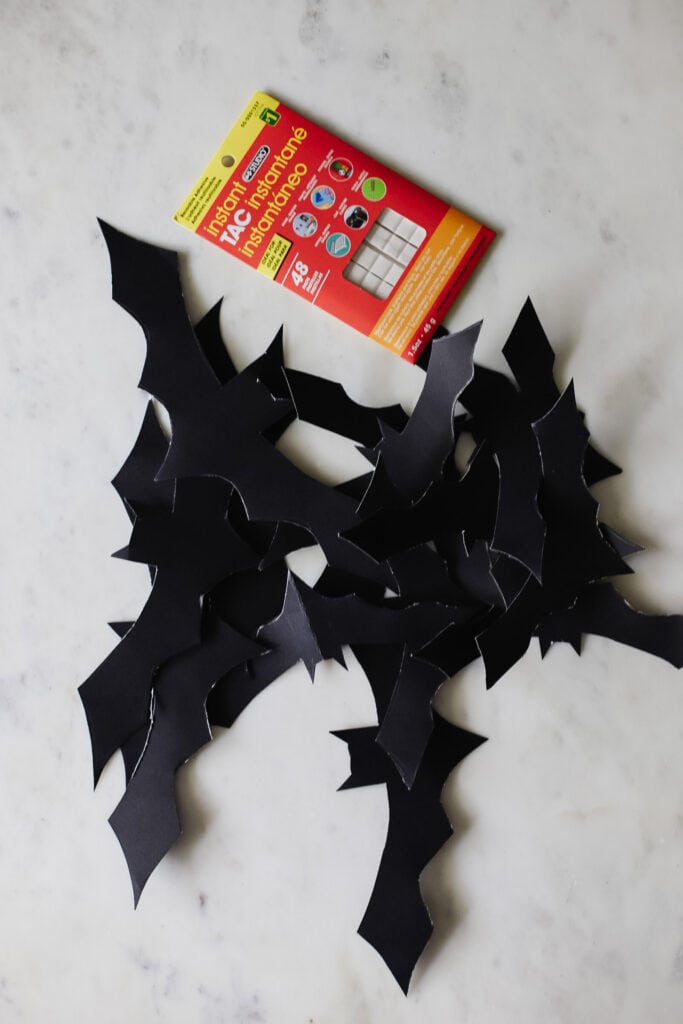
Once you have all your bats you can use a product called a bone folder, which is a tool for scoring and creasing the paper. It’s used a lot in scrapbooking and origami. We used it to fold our bats in the middle so the wings are touching. Then we used it on each wing to slightly bend which will give the bats a 3D look.
Step 6
Grab your sticky tack or whatever your choose to use for the bats. If you are hanging them on the ceiling we’d recommend using fishing line and these command strips.
I’ve heard a few people use double-sided tape to the outside of their door, and I can’t say if it’s good or not because I haven’t tried that yet. The sticky tack worked pretty well for us, and clean-up was a breeze. It came off without any residue left over.
Step 7
Finally, you can either add finishing touches like glitter, paint or my daughter suggested using googly eyes. Hang them however you like and enjoy your quick and easy Halloween decor!
I shared our bats over the fireplace in the photo above, which might give you some idea for your own Halloween decor.
Other DIY Bat Templates to Make
I wanted to include a few other styles of bats for your home. That way you can easily decide what your preference is.
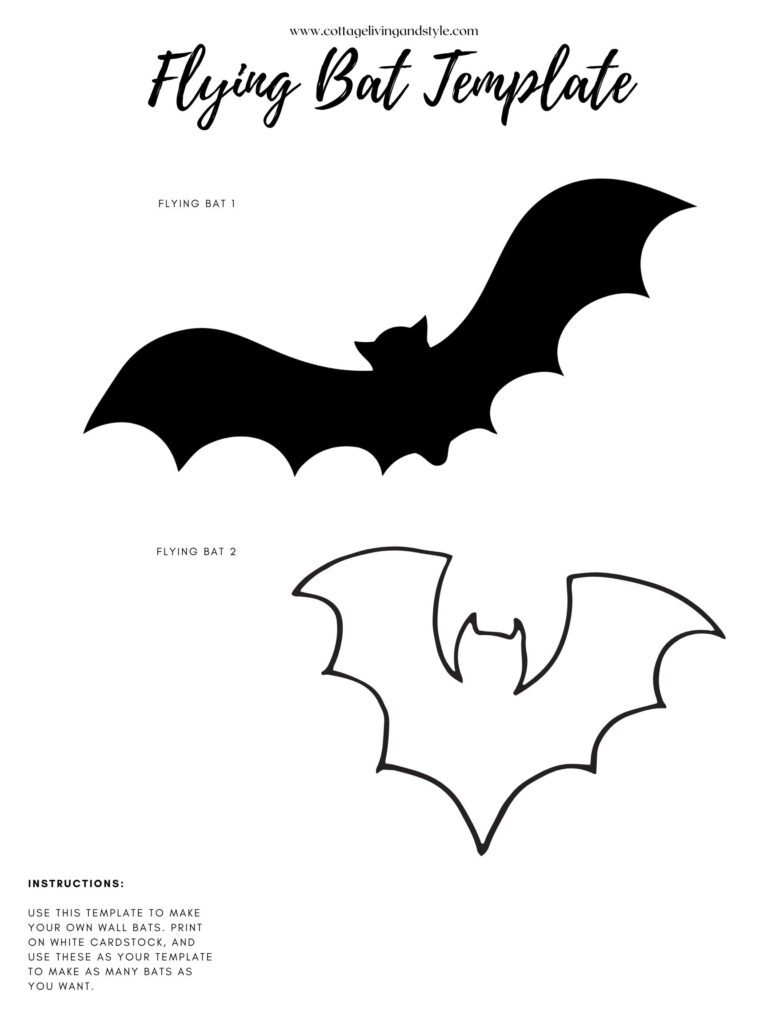
Flying Bats Template
This flying bat template could be used to hang from the ceiling. Just attach some fishing line and hang them where ever you want.
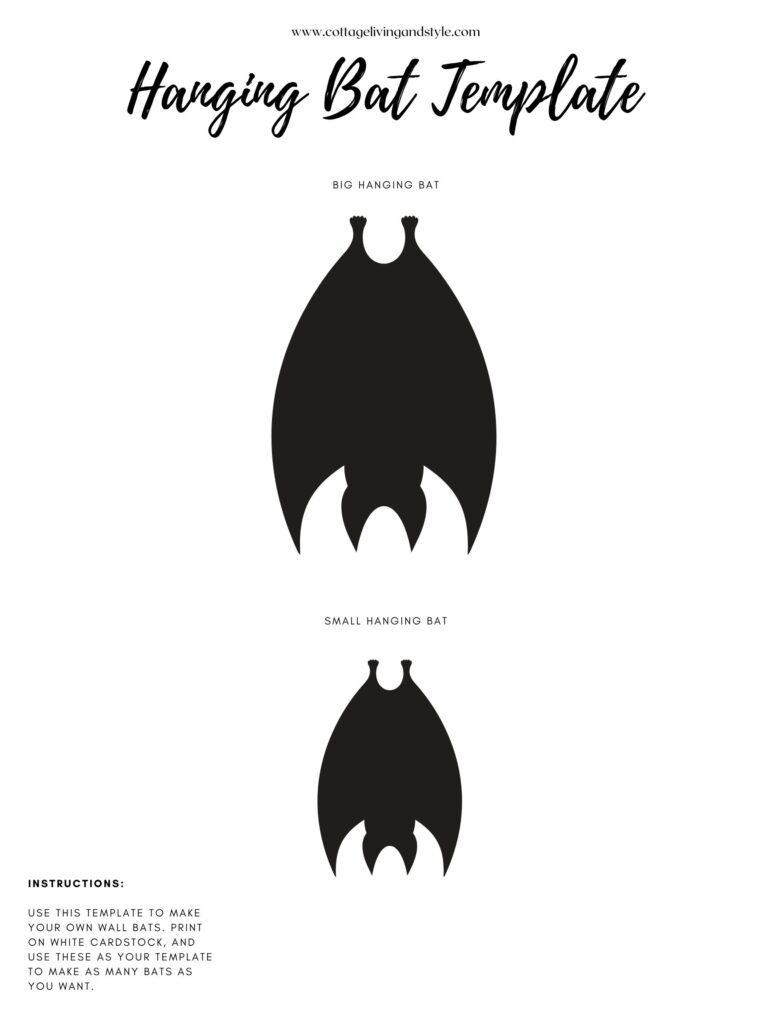
Upside Down Bats
This upside-down bat can be created the same way as the wall bats I shared. This would be fun to put on the windows or the front door.
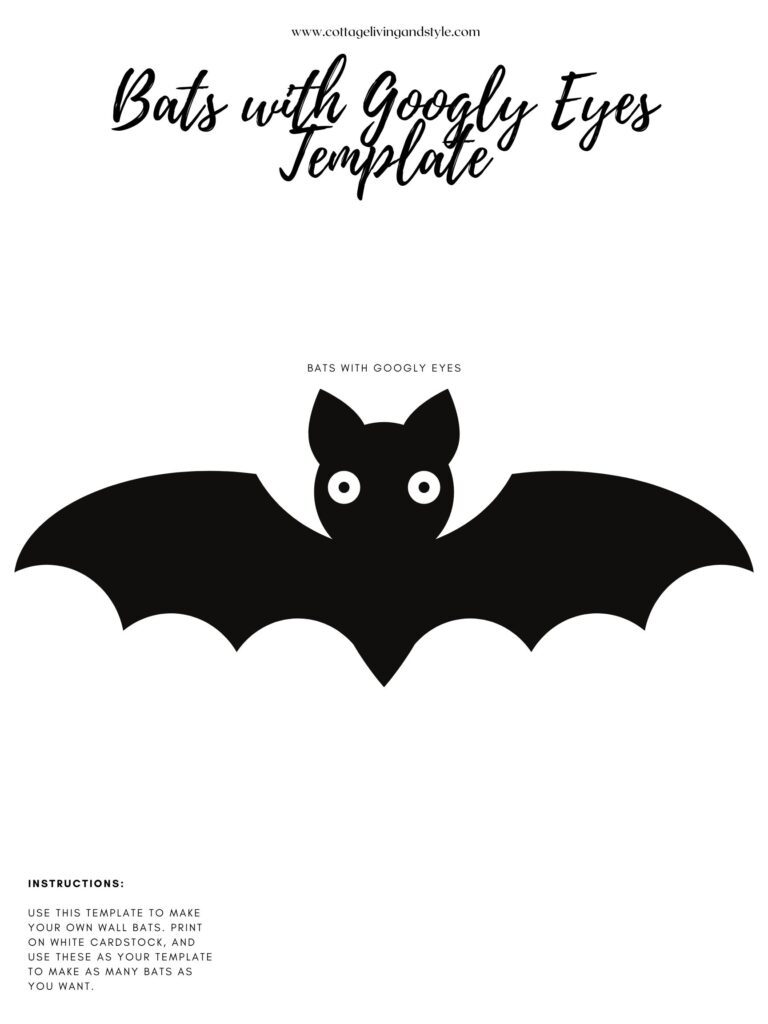
Bats with Googly Eyes
This one is for the kids! Who doesn’t want to decorate bats with googly eyes, maybe add some glitter, paint, or whatever you want to these?
If you make these, be sure to share them with us on Instagram! We’d love to see more of your Halloween DIYs too.
Save this on Pinterest for Later!
