7 Easy Steps to Replacing a Door Handle
Today we’re sharing 7 easy steps to replacing a door handle the right way, how to resize door holes, and how to install new latch holes.

Changing door hardware is one of the easiest and most affordable ways to update your home. Replacing builder-grade hardware is nice, especially when it’s with something you love.
Which is why we decided after three years I decided it was time to replace ours. Thankfully with the help of Yale and August Home, we were able to switch out all the handles, knobs, dummies, and locks in our home.
We had so many reader questions about the installation process after I shared this post last week. So we decided I had to dedicate a post to it.
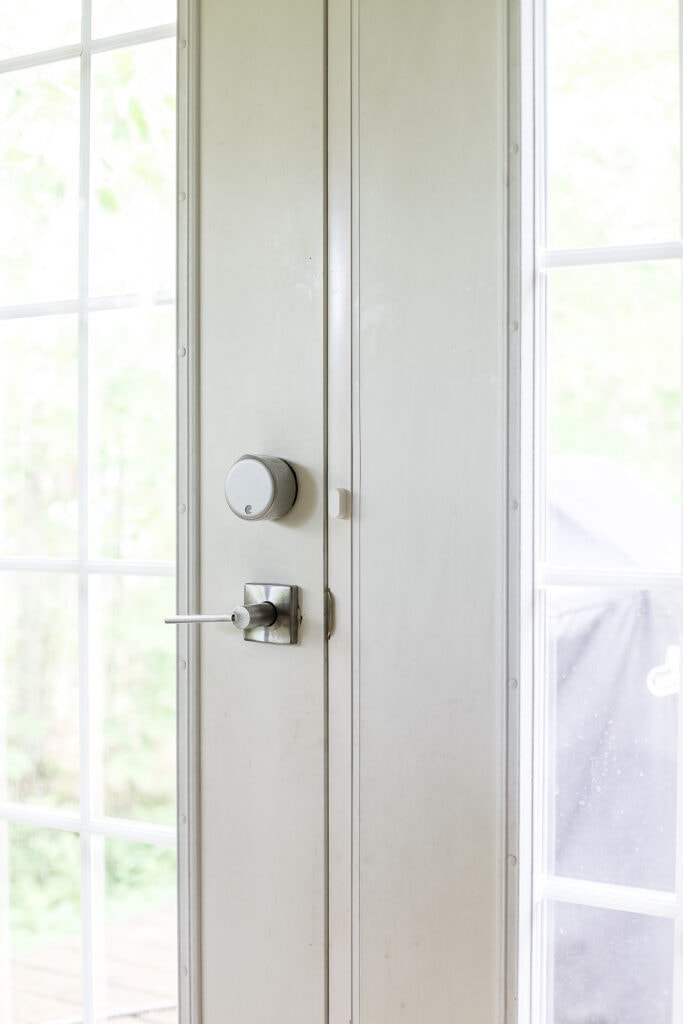
7 Reasons we Love our New Smart Lock
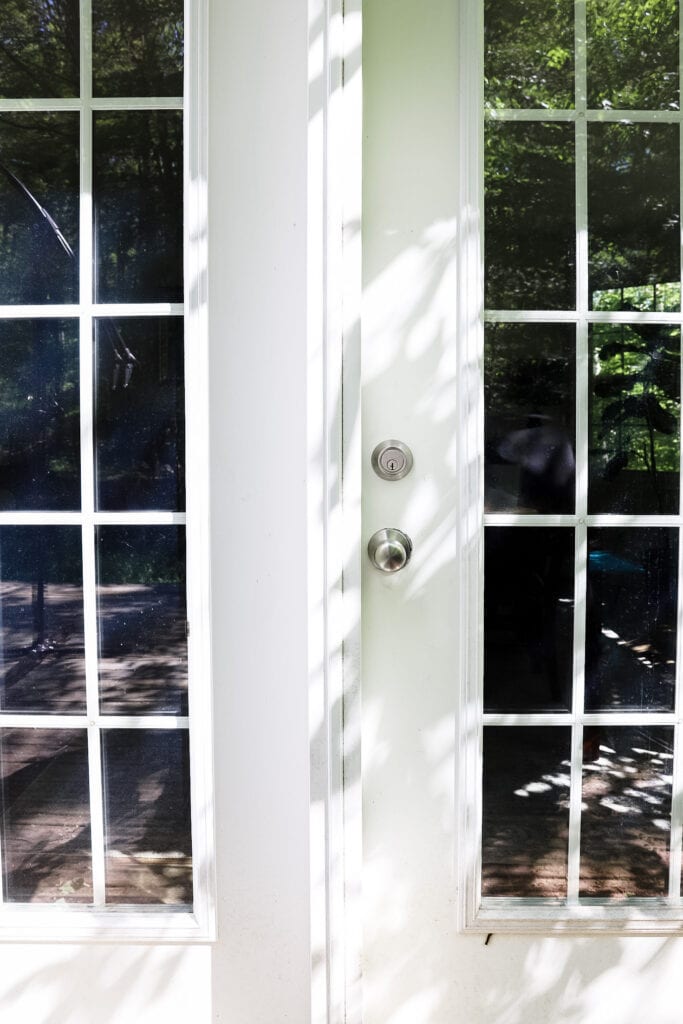
Replacing a Door Handle Correctly
This was a skill I just learned last week shortly after installing the kid’s door handle on the wrong way. I only learned that I did it wrong when my three-year-old got locked in her bedroom for about an hour until my dad came to the rescue.
It was a lesson.
After that, I learned how to replace both interior and exterior handles (the right way). I also learned what to do if the original door hole is too small, which I’ll also share below.

7 Steps to Replacing a Door Handle
You’ll need a few screwdrivers if you’re replacing a door handle, including a Flat Head and a Philips.
Step 1 – Remove the Old Door Knob
Remove the old doorknob by finding the screws and unscrewing them. Slide each latching mechanism out and undo the strike plate.
Step 2 – Join the Door Handles
Make sure your new doorknob has the correct backset. (A backset is a distance from the center of the doorknob hole and the edge of the door). Next, insert the new latch in the door hole.
Step 3 – Insert the Extending Rod
Choose one doorknob with an extending rod, sliding it through the latch holding it in place until it is screwed in.
Step 4 – Add the New Latch Plate
Put the new latch plate in place, ensuring the spring in the lock is working by turning the handle. The latch should spring back several times,
Step 5 – Attaching the Door Knob is in Place
Time to put the last piece on! Hold the second knob in place making sure it interlocks the rod on the first doorknob. Don’t forget to screw the doorknob in place.
Step 6 – Add the Strike Plate
Place the strike plate on making sure it’s on the right way. Next, make sure you test the door several times making sure it works properly (making sure your child doesn’t get locked in their room for hours).
Step 7 – Don’t Forget to Test It!
If by any chance the door handle gets stuck, don’t worry. Just check it a few times to see where it’s either hitting, if it’s sticking or if you need to shave down the door itself so the handle fits. If there is still an issue check out steps to drilling a doorknob hole over an existing hole and how you make a bigger latch hole.
How Do I Drill a New Doorknob Hole Over an Existing Hole?
You will need a few things for this DIY: Hole Saw, Clamps, 2 pieces of Plywood, hammer, marker, screwdrivers, and a chisel.
- Remove the doorknob.
- After removing the doorknob, measure the existing doorknob bore (hole)
- Firgure out how much bigger the new hole needs to be by measuring around the doorknob. Most new door knobs have the exact measurements in the package that you tape to the plywood. (Yale & August Home both come with it).
- Create a cheat sheet on one of the pieces of plywood. You need plywood or the hole saw will spin aimlessly.
- Grab the other sheet of plywood and clamp it to the otherside of the door hole. Grab the marker and mark the middle of the hole on both sides. (This will make it easier and prevent any damage by not finding the center).
- Take the (right size) hole saw and start cutting through each layer of plywood. Cutting through both sides until you have a nice clean hole.
How to Make a Bigger Latch Hole for your Doorset?
- Take out the first door latch.
- Outline the new door latch.
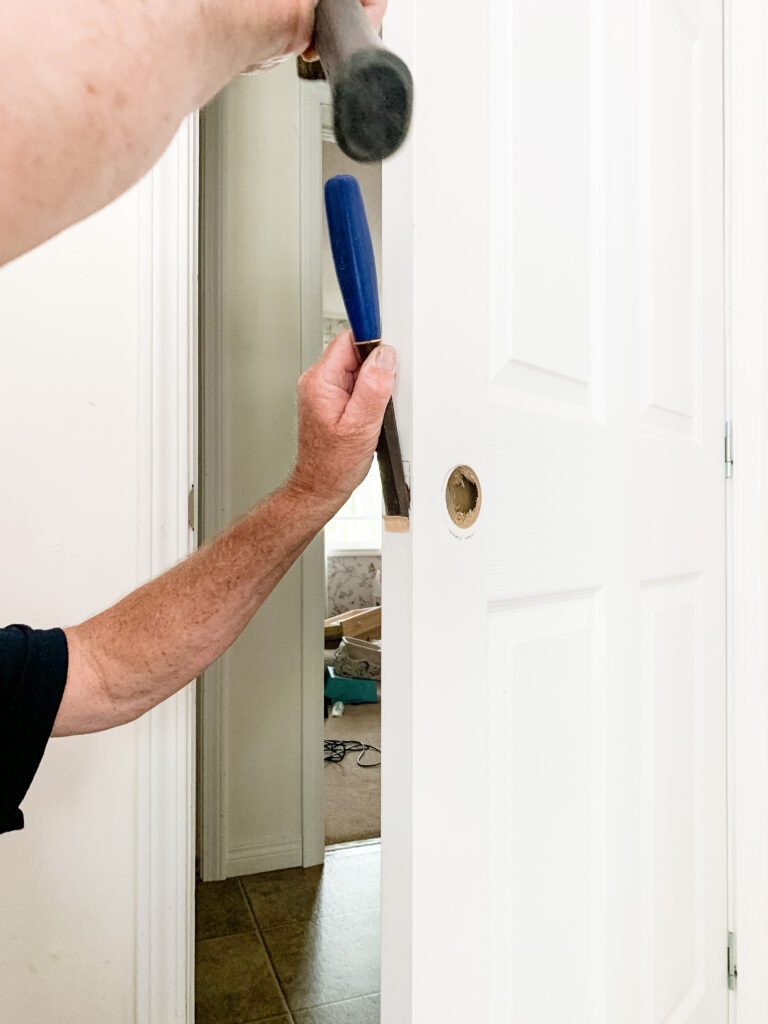
- Using a chisel and hammer start making an outline about a 1/4 inch deep all around.
- Once that is finished take the chisel point it down and start to chisel it out.
- Clean the new latch hole and secure the new latch in its place.
Well, I hope this helps you avoid making some of the same mistakes I made when I was replacing a door handle for the first time.