Installing Shiplap in the Kitchen
I’m back with a new blog post sharing how we installed shiplap in the kitchen. If you missed the first post about our kitchen makeover you can read more about how we painted our 90’s style kitchen a beautiful sage green.
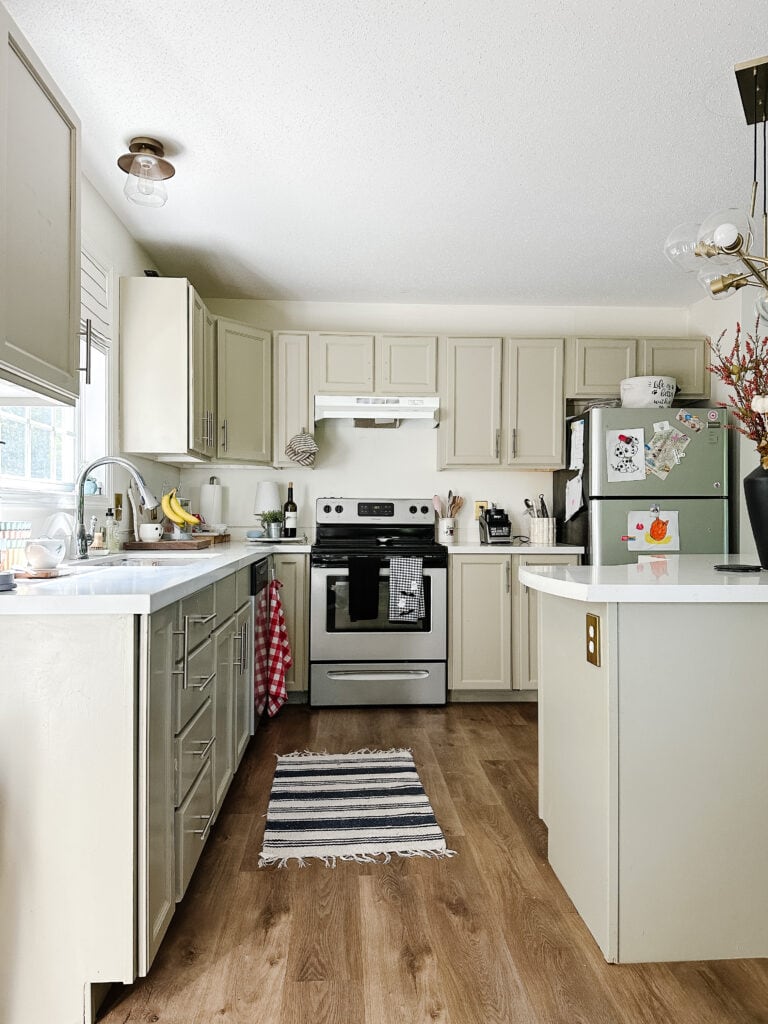
When I was planning our kitchen makeover, I had a small budget to work with. We know this isn’t going to be our forever home but I strongly believe in making your home beautiful no matter what.
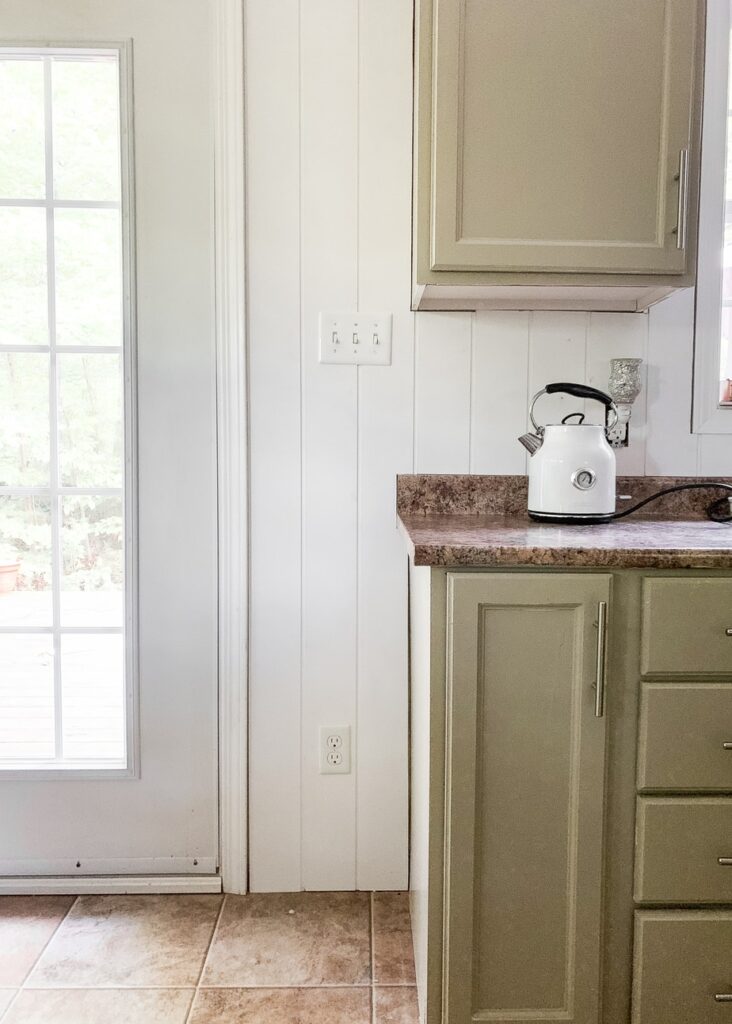
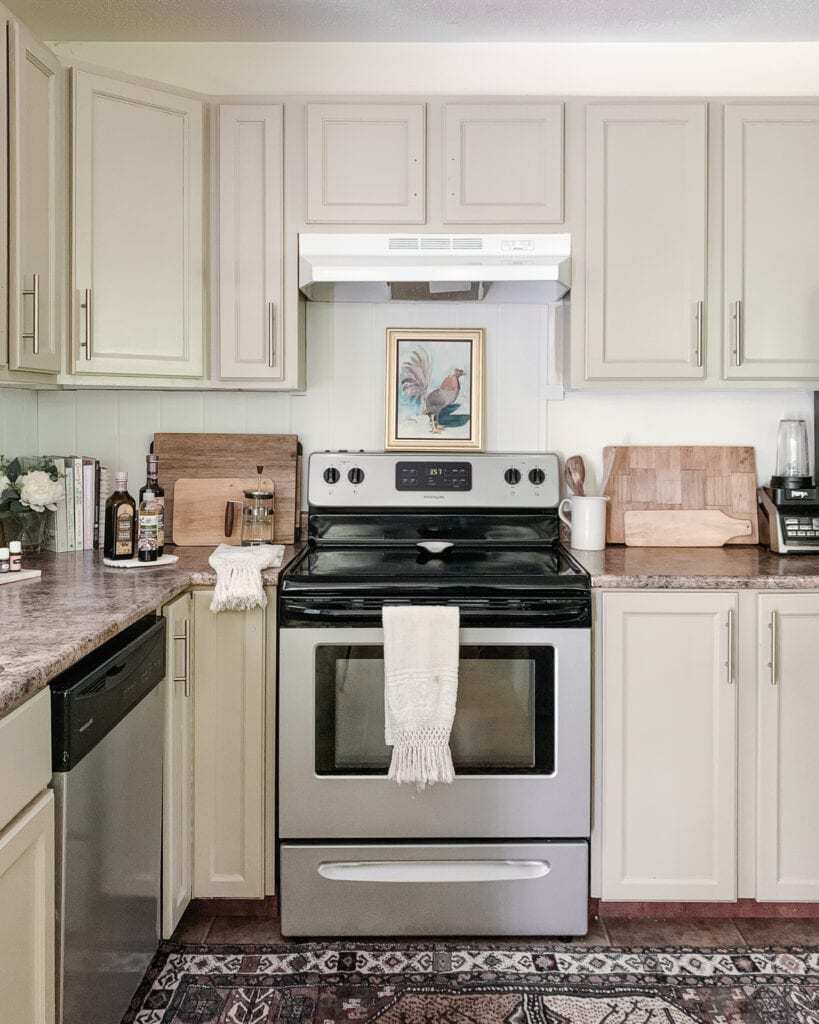
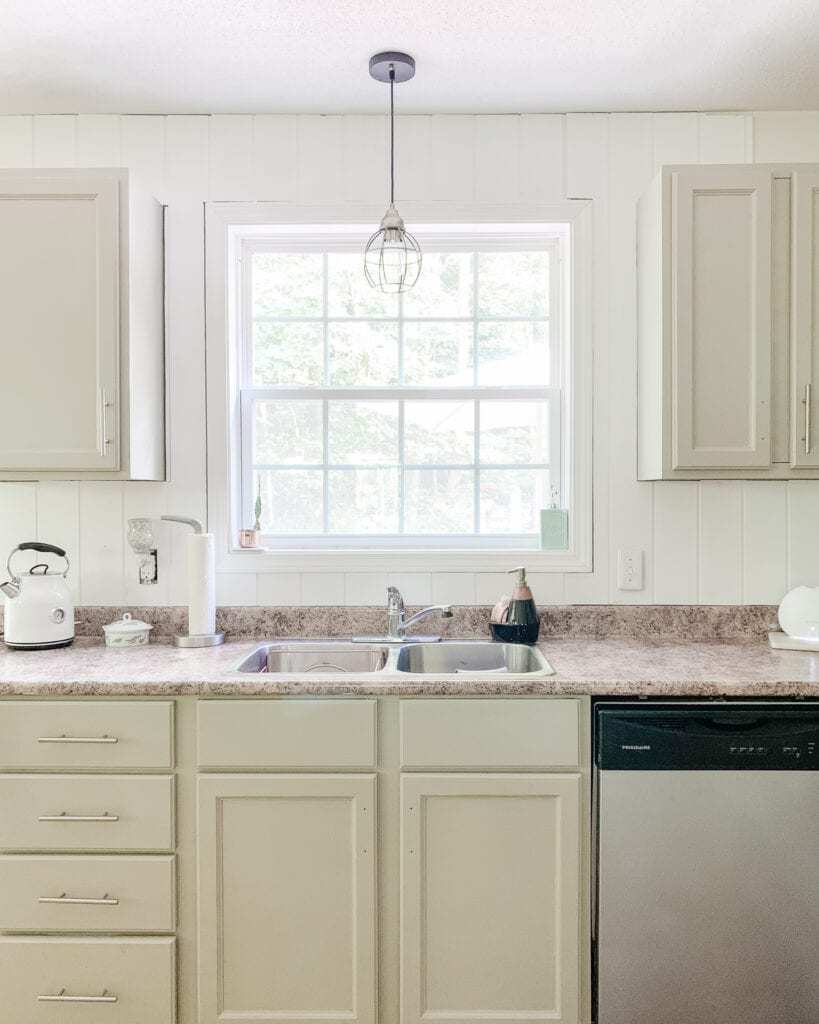
I only had $200 to spend on a backsplash which meant I either had to use an inexpensive tile, faux tiles or I could use shiplap. I went with shiplap because I ended up getting a really good deal from Home Depot on some shiplap bundles that had been returned.
tip: When looking for shiplap check out your local re-store like habitat for humanity first, then if your local Home Depot or hardware store has returns that are discounted.
How to cut shiplap
I went with the primed MDF shiplap and we started with 3 bundles but ended up ordering more. To be honest I was a little intimidated to do it by myself because I thought I would mess up the measurements. Thankfully my husband is really good at this kind of stuff and helped me cut them.
We used a compound miter saw to cut exact pieces of shiplap for the kitchen. For the light fixtures and sockets, we measured out the cut we needed to make. Then we used a cordless drill to start the hole so that the jigsaw was able to cut the rest out.

How to install shiplap
Now that you have made your cuts, this is the easy part of putting up shiplap in the kitchen. There are two ways you can install shiplap, the first is gluing it which we did. We went with the liquid nails construction adhesive that was recommended by Home Depot. It a simple way to install that doesn’t require a nail gun.
However, if you have a nail gun or you’re installing shiplap on the ceiling I would recommend using a nail gun. We’ve used the Airstrike 16 Stright Finish Nailer on another project and we really liked it. So it’s really up to you what you think will suit your project the best.
Finishing our shiplap in the kitchen
After finishing the installation of the shiplap you can add the finishing touches. There are three things I recommend doing if you are installing shiplap in the kitchen.
- Use Caulking to fill the cracks, I grabbed white premium to match the paint I used. You’ll also need a caulking gun
- If you used the nail gun, you’ll need to fill those holes. I recommend the 3M Patch plus Primer. That way you can easily paint over the spackling compound as well.
- Most importantly you will need to use mildew-resistant paint that will also protect the shiplap against water damage. For the best results, I recommend using a spray gun for the paint if possible.
Whats next?
Now that we’ve finished installing shiplap in the kitchen, I’m going to change out the counter tops. I found out the company that did our kitchen when this house was built and they are able to change the colours out while still keeping the original shape.
We will also be installing new flooring, which I’m excited to share more about soon!
Don’t forget to pin this for later!