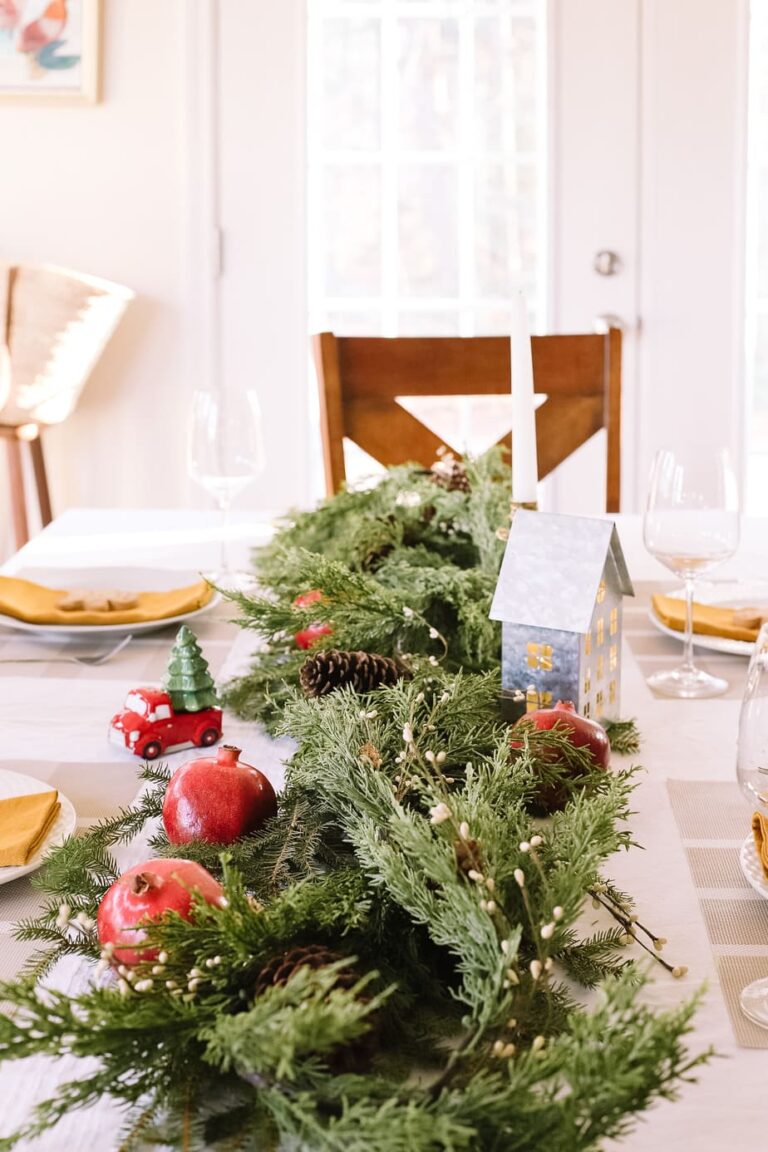
How to Make a Holiday Cheese Board
Post Summary: In today’s post, we’re sharing how to make a holiday cheese board and all the ingredients you need to wow your guests.
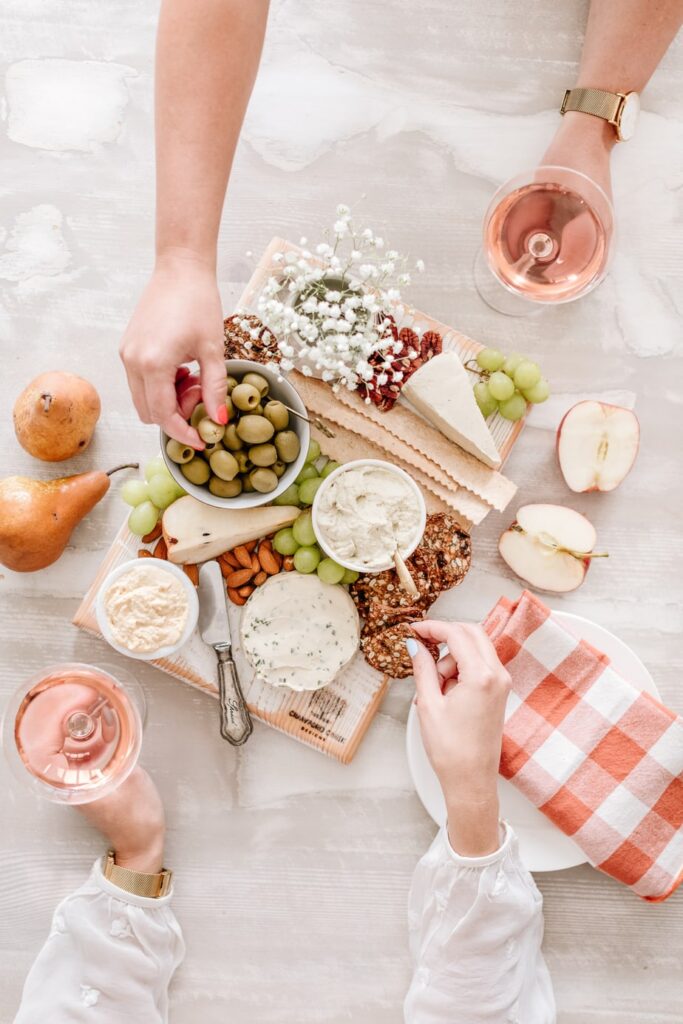
A cheese board is an experience for your guests. It’s an opportunity to explore the contrasting tastes and textures of a variety of cheeses. It’s a great addition to your menu when you’re hosting a holiday party or entertaining friends, and it’s easy to make.
I mean how many times have you pinned a pretty cheese board on Pinterest? So why not make your own this holiday season?
I love seeing them at parties because they are pretty enough to use as centerpieces and show-stoppers while entertaining your guests. Not to mention cheese boards are perfect appetizers that require no cooking or baking skills.
Which makes them pretty convenient to create and serve regardless of the setting. Plus they are easily customized according to the occasion, dietary needs, and even season. That’s exactly why cheese boards are one of my favorite appetizers for dinner parties.
So in today’s post, I’m sharing practical and creative tips that will help you make a holiday cheese board that will add to the festive look of your holiday tablescapes.

How to Make a Holiday Cheese Board
The thing I love most about creating a holiday cheese board is that I’m usually making it for friends, family, and loved ones. Which means we get to spend time together, tasting different cheeses over a glass of wine.
Most cheese boards are made with 2-4 meats, 2-4 cheeses, a handful of crackers, and a few other fruits, nuts, and whatever else you want to add. The total time to make a cheese board is anywhere from 5 minutes once you have all your ingredients ready, to30 minutes if you really want to make it look pretty.
However, I want to make this super easy, so I shared some of my tried and true favorites for making an amazing cheese board below. All you have to do is click to shop!
Everything You Need
Cheese Board Set
Want to make things easy? This cheese board set comes with everything you need, including a fruit board, charcuterie board, and all the accessories.
Cheese Knife Set
This cheese knife set has amazing reviews and comes in a gift box so it also makes a great gift idea.
Assorted Cheese
Did you know you can get Farmers Market, Wisconsin Meat, and Cheese from Amazon!? We are obsessed.
Mini Chalkboards
I love the added touch of mini chalkboards to let your guests know what types of cheese, jams, or food you have for them.
The Food Supplies
- Dried Fruit
- Green Olives
- Prosciutto
- Chocolate
- Green Olives
- Honeycomb
- Cured Meats
- Dried Citrus Slices, Tangerine or Clementines
- Herbs for the Cheese
- Chutney or Jam
- Cinnamon Roasted Pecans
- Candied Walnuts
- Baked Brie
- Grapes
- Sweet and Spicy Almonds
- Figs
- Assorted Water Crackers
- Assorted Crackers
- Pretzels
- Candy Canes
- Gingerbread
Instructions
Step 1
The first step is to choose your cheese board, it can be round, square, or rectangular. Popular cheese board materials are usually made from wood like bamboo, slate, or marble. But choose an option that best fits your aesthetic, and be conscious of the size of the board. Obviously the bigger the cheese board the more expensive it will be to fill.
You want to start by making sure your board is cleaned properly. Most boards are okay to be cleaned with soap and water, but pay attention to the material and how to safely clean it. Also, keep in mind you want to use a cleaning product that is safe for food handling and eating.
Step 2
There are several ways to start your board depending on your budget. If you are focusing on budget-friendly options, you can start building your board by taking a look at what you already have at home. For our Holiday board options, we like to grab leftover ingredients from Holiday dinners.
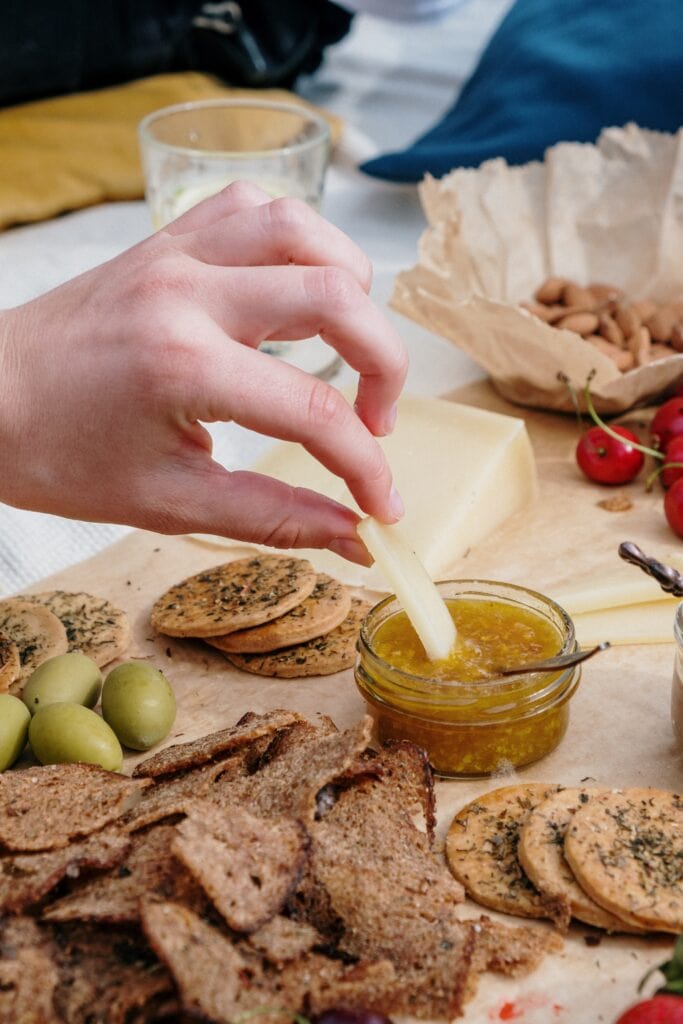
If quality is your focus, you can start your board by placing the most luxurious cheese options first and building out. I also like to grab a cheese plate and just add my own meat, fruit, and nuts to it.
If I’m working on a board for at least 6 people, I’ll use around 3 kinds of cheese. Which is why my go-to for creating the perfect Holiday cheese board is using all three types of cheese; mild, medium, and strong cheese.
My favorite mild cheese is brie because all you need is a few ounces at room temperature to make the perfect appetizer for guests to spread on their crackers.
For medium, it’s aged longer than mild but lacks the sharp cheddar taste. It’s also great for slicing and melting because it’s semi-soft. I personally enjoy a medium cheddar cheese on our boards.
Aged cheddar is also great to include in your Holiday cheese plate. We also like goat cheese, blue cheese, and smoked gouda just to a variety of cheeses to the appetizer.
Step 3
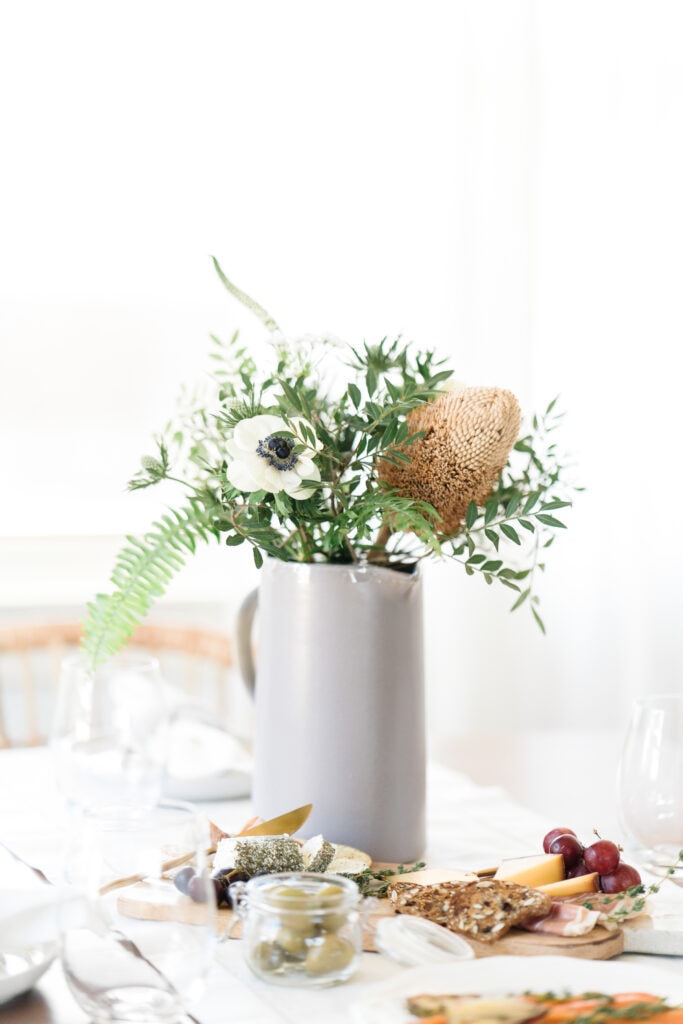
Next, we add the meat. For this, I like to grab a pack of charcuterie meats from the local grocery store. It’s an affordable way to get a variety of cured meat like Prosciutto, Genoa Salami, and Sopressata.
One of the biggest secrets to making a professional Holiday cheese board is to focus on texture and adding variety.
So when we’re placing the salami we try to separate the slices in half and place them around the board. While Prosciutto and Sopressata can be scrunched together in three areas. Allowing access for all guests to try everything without reaching across the board.
Step 4
Next, we’ll add crackers to the cheese board. The more different the crackers are, the more perfect they are because they create interest on the board. If you look online almost every charcuterie board you’ll find has Rosemary Rasin Crisps on it. But in this case, they are sweet and perfect for a holiday cheese board.
I also wanted to note that I will sometimes include small bowls because they are perfect for adding spicy jam, honey, or even fresh fruit.
Once we have the crackers I lay them on the plate in groups around the board. I try to stick to two or three bunches of crackers, laid in a straight line for aesthetic purposes. Plus you want to think about where your guests will be when reaching for crackers.
Step 5
Speaking of fresh fruit, the last step is to add all the things that remind you of Christmas. Some fun ideas to add to your Holiday cheese board would be things like:
- Pretzels
- Candy Cane
- Candied Pecans
- Figs
- Gingerbread houses can be used as centerpieces within the cheese board
- White Chocolate
- Chocolate
- Marshmallows
- Cinnamon sticks
- Honey Combs
When you place fruits and nuts the best way is to find any space between the cheese and meats. Placing them undercrackers, in empty spots around the board. Slowly building until there is no board left.
My best advice for making the board aesthetically pleasing is to leave fruits and products as raw as possible. Things like the steam of grapes and leaving the figs in half. I also love to add broken chunks of chocolate and like I said the more imperfect the better.
Lessons on Pairings
I’m going to leave you with a few things I learned about creating cheese boards over the years:
- Figure out your champion product, which is the one thing you start with and work down from. Sometimes it’s a gingerbread house, other times it’s melted chocolate with dipped pretzels and smashed candy cane as decoration.
- Make sure you set the cheese board out about 15-20 minutes before guests arrive. That way the cheese will be at room temperature, allowing the flavor to develop. While you wait you can get the drinks ready, set the table, and focus on enjoying yourself.
I hope you learned how to make a holiday cheese board that your guests will love!
Pin this for later!
More Holiday Ideas
Looking for more holiday tips, tricks, and ideas for celebrating the holidays in your home? We’ve got a ton of content you’re going to love.


