Cottage-Style Crisco Biscuits
If you’re looking for soft, fluffy, comfort food, this recipe for Cottage-Style Crisco Biscuits is everything you need!
Food is such a special thing, and we don’t mean the fact that it keeps our bodies sustained for daily life. Food is powerful in how it can evoke memories, create excitement, and bring you closer to a new culture or experience, and without sounding overly cheesy, food can change your life.
Without generalizing, we guarantee that each of our readers has one family recipe, tried, tested, and true that has been prepared repeatedly, and somehow seems to taste even better each time it’s made.
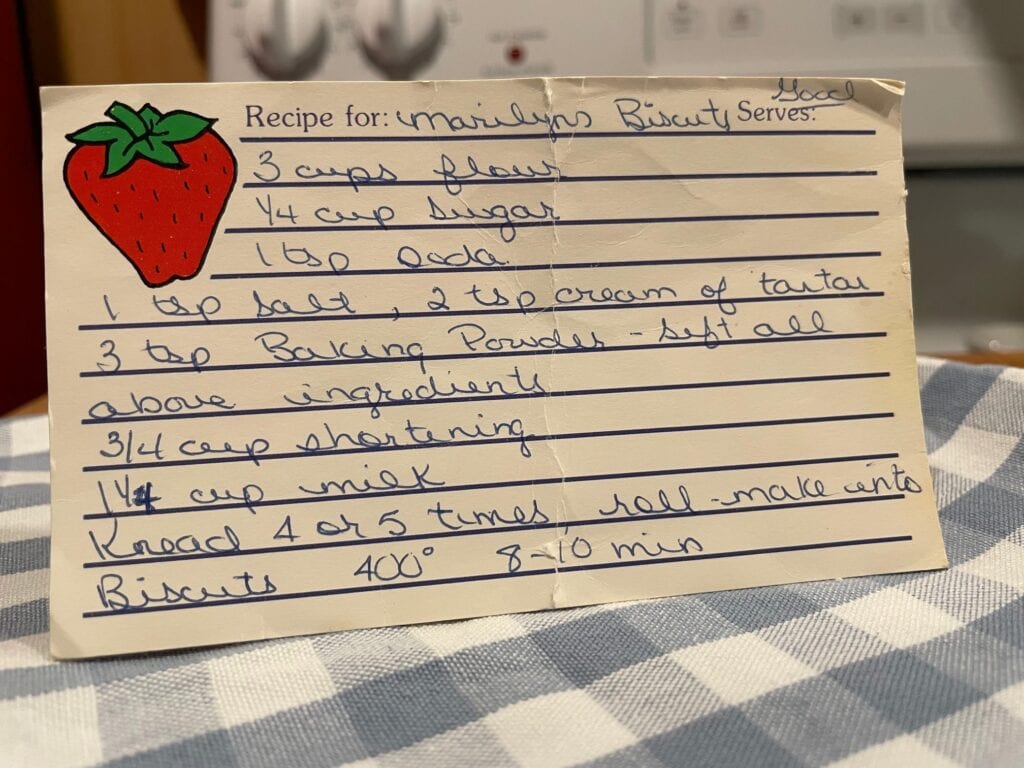
Queue Ashley’s mom’s biscuits. You all loved Stephanie’s story and authentic fried Bannock recipe, because of how easy it is to prepare and the history behind it. This got our editors thinking; what other family recipes do we have that we know our readers would love? This recipe was handed down from her grandmother to her mother, and now to Ashley. While we aren’t sure who Marilyn is, we know she had a knack for baking and her family must have adored her offerings as much as we do now.
Keep reading to find out the exact recipe for Cottage-Style Crisco Biscuits that Ashley’s family swears by!
Cottage-Style Crisco Biscuits
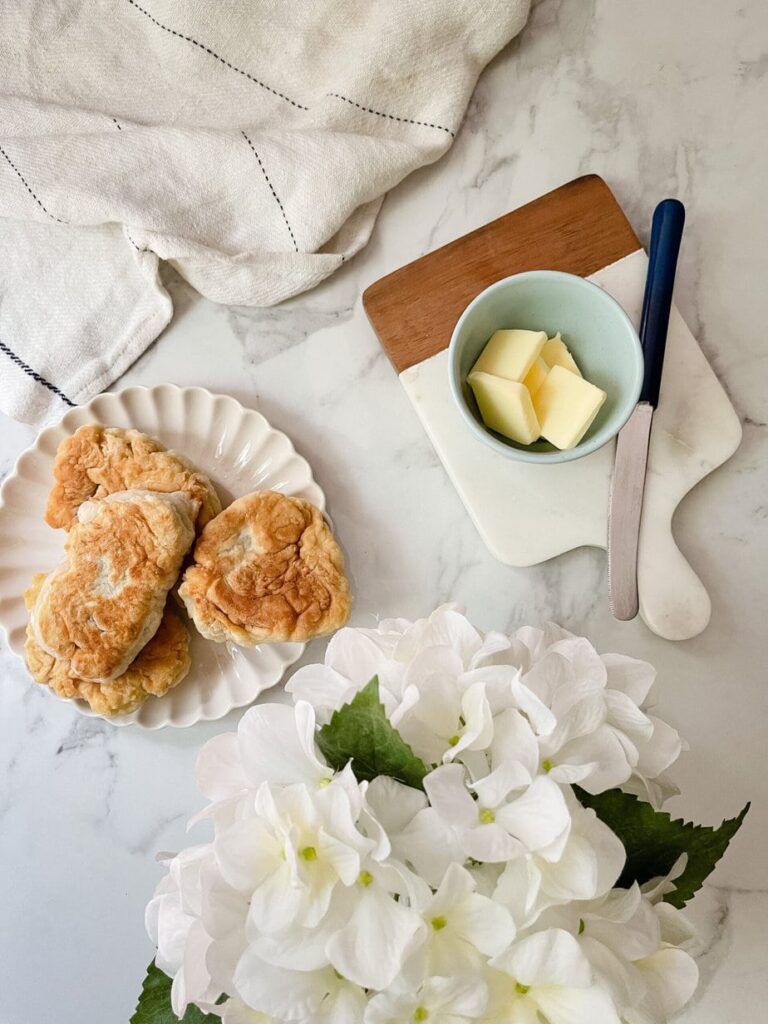
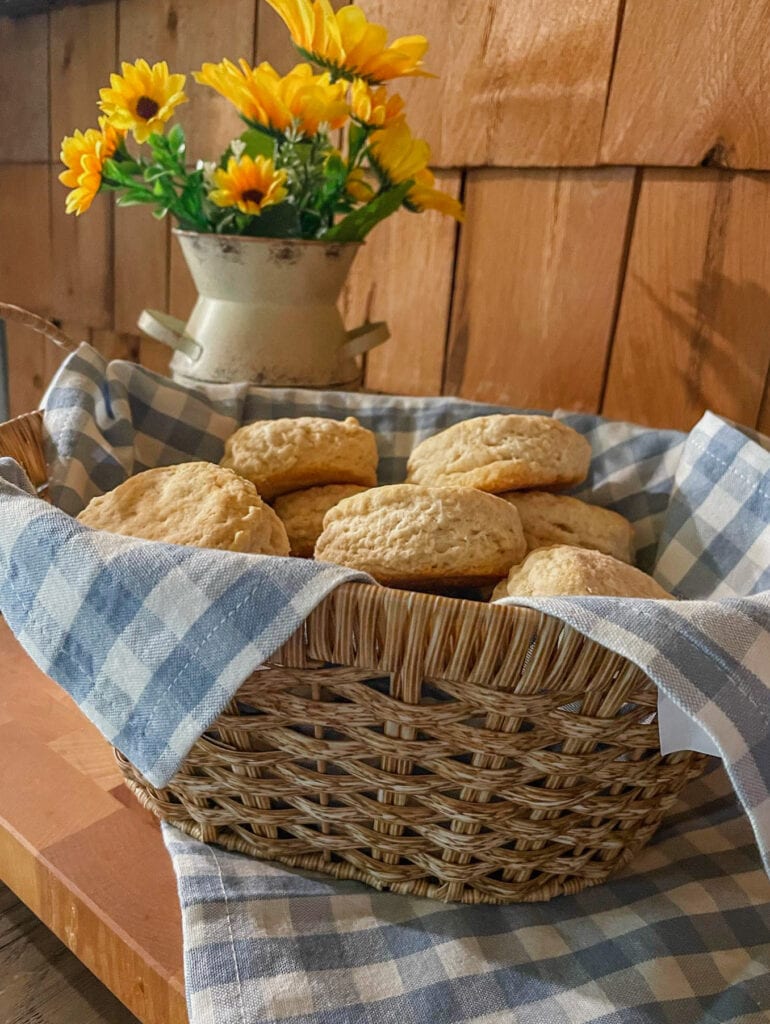
There is something so special about warm, flaky biscuits. These versatile little delights are perfect on their own as a snack, and even better when smeared with butter, and homemade jam alongside a cup of tea. This recipe is also the go-to when making a summer classic, strawberry shortcake!
But what truly made this recipe a hit over the years is how easy they come together with a few simple ingredients you like already have at home. This recipe is made in one large bowl and does not use any butter, eggs, or even buttermilk!
If you’ve ever wondered how to make biscuits without butter and oil, this blog is for you. Today we are making Cottage-Style Crisco biscuits, which are sometimes called Southern Lard Biscuits.
What I love is that these Cottage-Style Crisco Biscuits use no buttermilk but somehow bake into perfectly fluffy, exceptionally moist with the perfect amount of crumble, biscuits!
Let’s dive right in!
Ingredients
(adjusted slightly from Marilyn’s original recipe for true perfection)
- 3 cups of flour
- ¼ cup of sugar
- 1 TSP of salt
- 1 TSP baking soda
- 2 TSP cream of tartar
- ¾ cup shortening or lard
- 1 ¼ to 1 ½ cups of milk (we use 2%)

Instructions
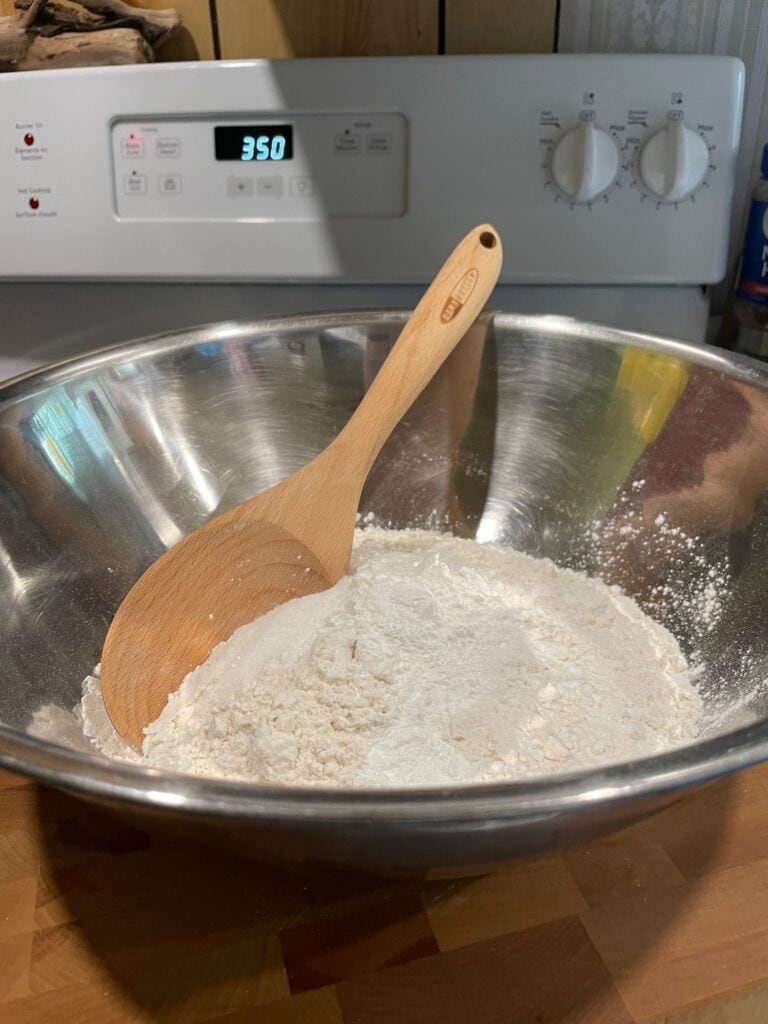
Before you start mixing the ingredients, you’ll want to preheat the oven to 350 degrees. While the oven heats, we will prepare the dough!
Step 1
Mix all dry ingredients into a large bowl (flour, sugar, salt, baking soda, cream of tartar). Combine thoroughly.
Step 2
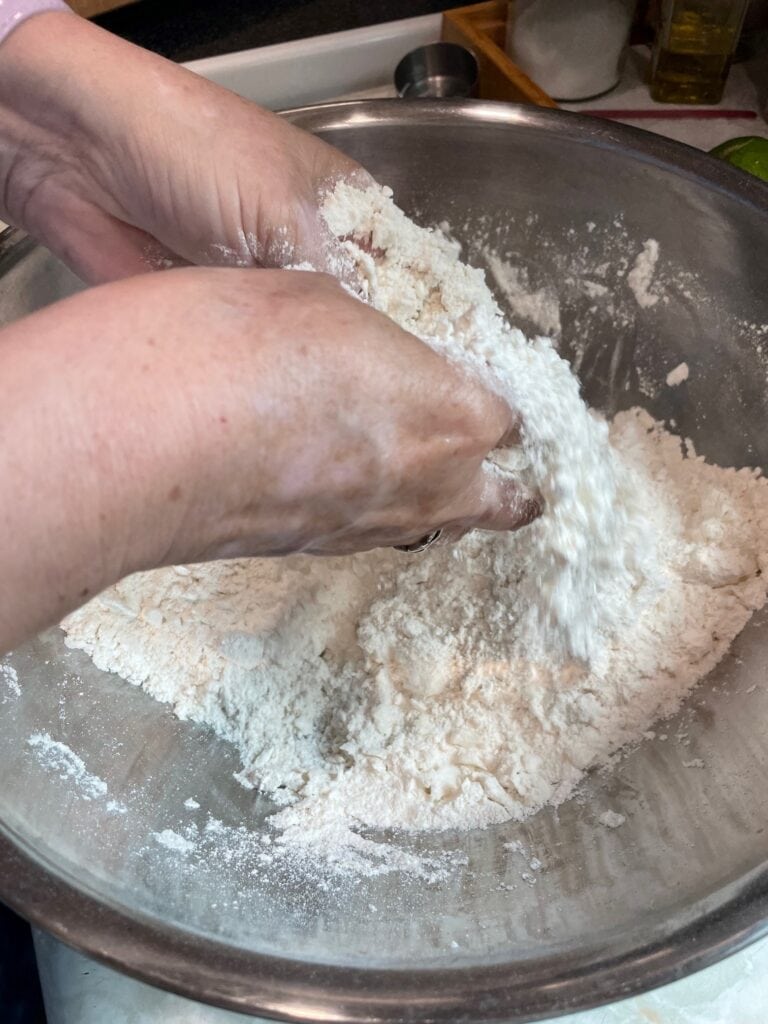
Using clean hands, mix in the shortening or lard. You want to really work the mixture to combine the lard or shortening with the dry ingredients. This should take a couple of minutes. You will know it’s ready when you have light and crumbly dough.
Step 3
Add your milk until the dry ingredient/ shortening mixture. We use a wooden spoon to really work it all together. You want the mixture to be wet but not runny. One and a quarter cups will usually do the trick, however, if you find the mixture to be a tad dry, add in a few tables more milk at a time until you reach the perfect consistency.
Our Favorite
Cottage-Style Recipes
Step 4
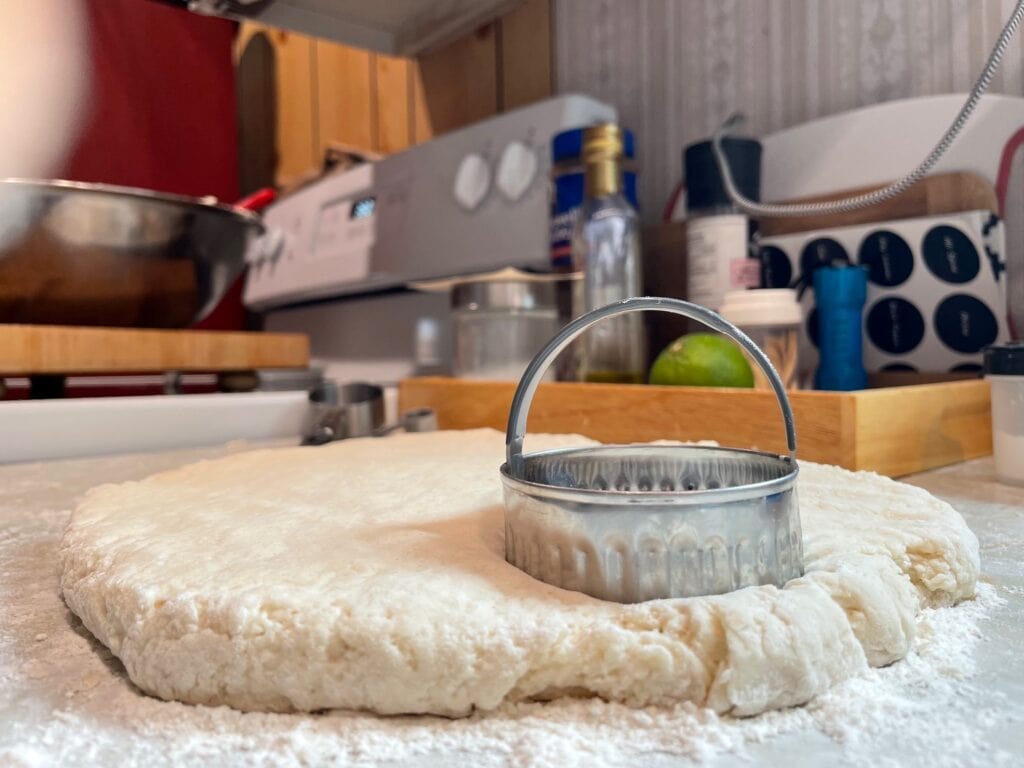
Dump the mixture out onto a clean and floured surface. No rolling pins are required here, folks. Just use your hands to flatten the dough into an inch-thick round on the counter.

Step 5
Using a biscuit cutter, cut the circles out from your mixture. If you don’t have biscuit butter, you can always use a mason jar lid, mug, or glass dipped in flour to get the same, perfectly round circles. We love these biscuit cutters though because of the adorable little crinkle design they add to the outside of the biscuits.
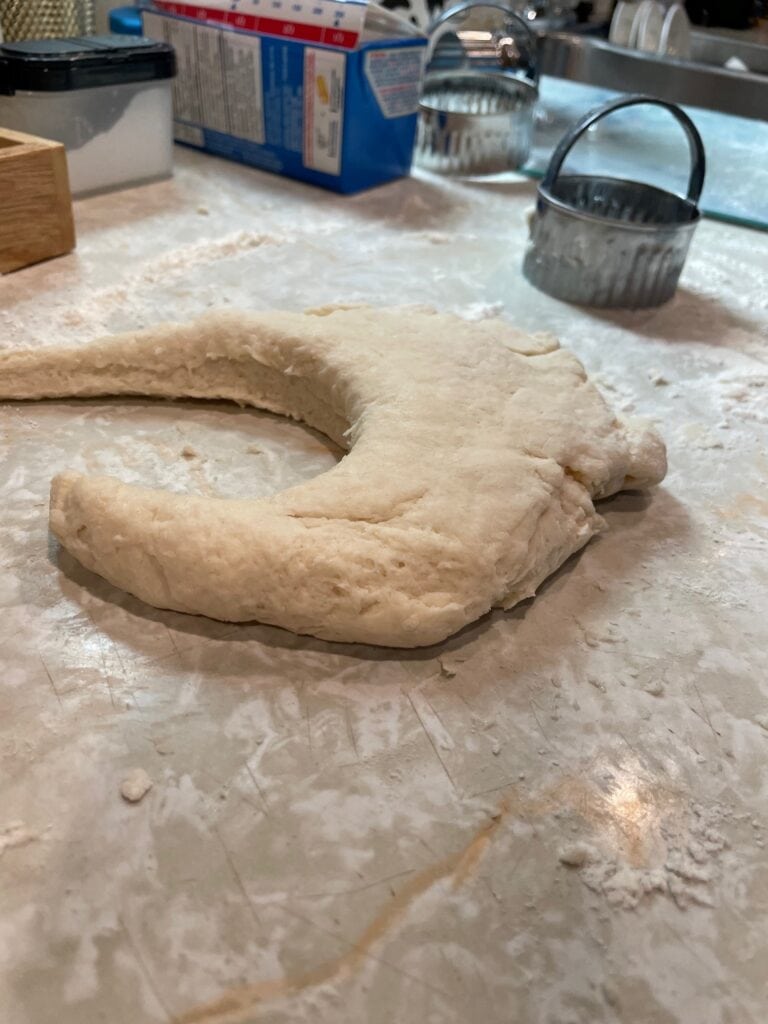
Cut as many circles as you can. You can gently press the leftover dough scraps into another, smaller, flattened dough circle to use up the rest of the dough for more biscuits.
Step 6
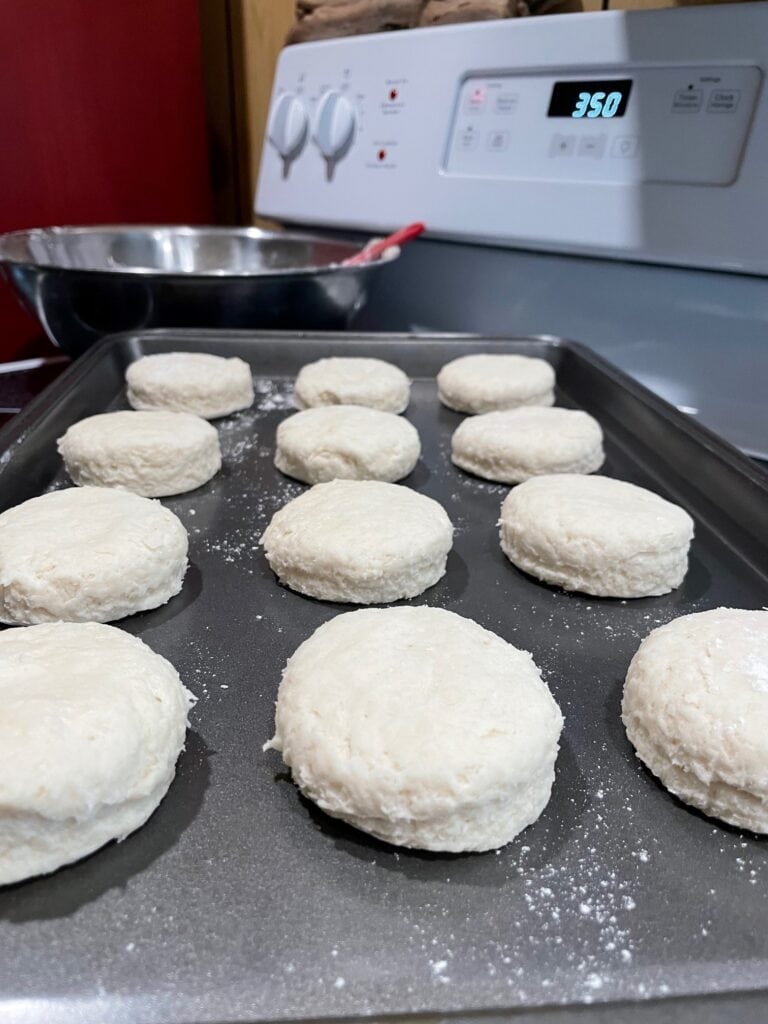
Place your biscuits on a non-stick cookie sheet. If you don’t have a non-stick sheet, lay some parchment paper on the bottom of a cookie sheet for the same outcome. We make these so often we have a pan that is specifically for biscuits and nothing else 😊
Step 7
Bake for 12-14 minutes in a 350-degree oven. You will know your biscuits are done when they are light and golden on the bottom. If you want that perfectly bronzed top, at the end of their cooking time, you can hit the broiler on low for 1-2 minutes to finish them off. This process will make them look pretty but is not necessary for flavor purposes.

Step 8
Let cool slightly before smearing with butter or jam or displaying your new beautiful baked good!
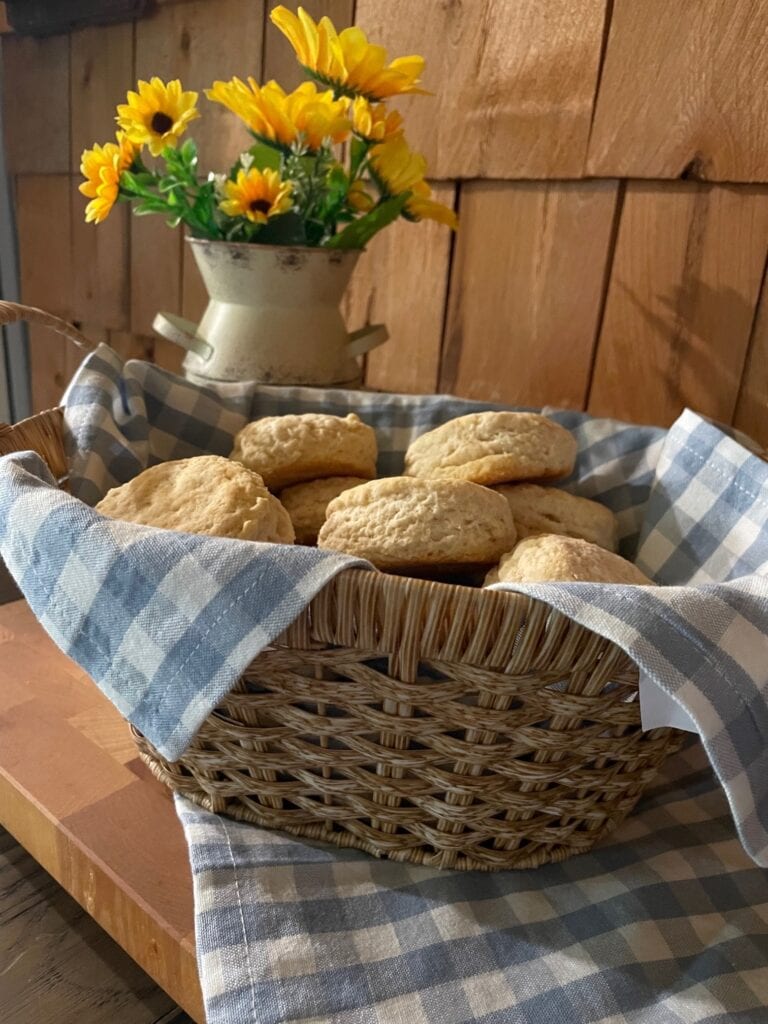
We promise you; these biscuits are so easy to make with only one bowl required and your family will ask for them again and again. They store beautifully for up to a week in an airtight container and taste equally as good on later days when slightly warmed in the microwave with butter.
In the summer months, this recipe gets extra use! It’s the perfect texture and taste for a classic dessert, the Strawberry Shortcake!
Cottage-Style Crisco Biscuits
Course: Appetizers, SidesCuisine: AmericanDifficulty: Easy4
servings30
minutes40
minutes300
kcalThis delicious recipe is for the most flakey, soft Crisco Biscuits you have ever had! It’s a Cottage-Style family recipe we’re sharing with you. Not only is this recipe simple and easy to make, but it only takes a few ingredients to perfect.
Ingredients
3 cups of flour
1/4 cup of sugar
1 tsp of salt
1 tsp of baking soda
2 tsp cream of tartar
3/4 cup of Crisco
1 1/4 to 1 1/2 cups of 2% milk
Directions
- Preheat the oven to 350 degrees. Mix all dry ingredients into a large bowl (flour, sugar, salt, baking soda, cream of tartar). Combine thoroughly.
- Using clean hands, mix in the shortening or lard. You want to really work the mixture to combine the lard or shortening with the dry ingredients. This should take a couple of minutes. You will know it’s ready when you have light and crumbly dough.
- Add your milk until the dry ingredient/ shortening mixture. We use a wooden spoon to really work it all together. You want the mixture to be wet but not runny. One and a quarter cups will usually do the trick, If it’s dry add in a few tables more milk at a time until you reach the perfect consistency.
- Dump the mixture out onto a clean and floured surface. No rolling pins are required here, folks. Just use your hands to flatten the dough into an inch-thick round on the counter.
- Using a biscuit cutter, cut the circles out from your mixture. If you don’t have biscuit butter, you can always use a mason jar lid, mug, or glass dipped in flour to get the same, perfectly round circles. We love these biscuit cutters though because of the adorable little crinkle design they add to the outside of the biscuits.
Cut as many as you can. - Place your biscuits on a non-stick cookie sheet. If you don’t have a non-stick sheet, lay some parchment paper on the bottom of a cookie sheet for the same outcome. We make these so often we have a pan that is specifically for biscuits and nothing else 😊
- Bake for 12-14 minutes in a 350-degree oven. You will know your biscuits are done when they are light and golden on the bottom. If you want that perfectly bronzed top, at the end of their cooking time, you can hit the broiler on low for 1-2 minutes to finish them off. This process will make them look pretty but is not necessary for flavor purposes.
- Let cool slightly before smearing with butter or jam or displaying your new beautiful baked good!


