How to Make Authentic Indigenous Fried Bannock!
In this article, you’ll find out how to make the best-tasting fried bannock, as well as learn about the history of Bannock and watch a detailed video of how we make it.
This post was originally shared in celebration of National Indigenous People’s Day here in Canada, however, we noticed a lot of new readers. So we added a bit more information that we hope you’ll also find helpful.
With its rich history and culture, Bannock is not just bread—it’s a culinary story of survival, tradition, and community. Today we’re going to dive into the tasty world of Bannock a historic staple and explore its significance, variations, and of course the delicious recipe.
I am an Indigenous woman, who grew up on a native reservation in Ontario, Canada. In honor of my heritage and culture, I thought it would be wonderful to finally share my family’s fried bannock recipe.
I’ve even included a secret ingredient that has been passed down through generations! So you’ll just have to keep reading to find out what that is.
When it comes to making one of the most popular recipes in the Indigenous culture, we were never told measurements. Unlike other cultures, Indigenous people were storytellers, passing teachings, and even recipes down to future generations through songs and stories.
Which is why the best-tasting bannock recipe was given to me without any real measurements, but don’t worry! I’ve figured out how to make it taste exactly like my mom’s bannock recipe, with measurements so you can easily recreate it at home.
An Authentic Fried Bannock Recipe, from my Ojibwe Grandmother
When I was writing this post, I called my grandmother to let her know that I was going to share our family’s bannock recipe (which is what our people call “scone”), and I asked her if she had anything to add. Of course, she told me what she always did. It’s less about exact measurements and more about how the ingredients felt in her hand.
Her exact directions are:
- A handful of flour
- Pinch of salt
- A bit more than a pinch of baking powder
- Then add in just enough water until it feels right.
I know that can be a little confusing so after a bit of testing and measuring, I’m sharing the exact fried bannock recipe from my ancestors.
Here’s the Tools you’ll Need
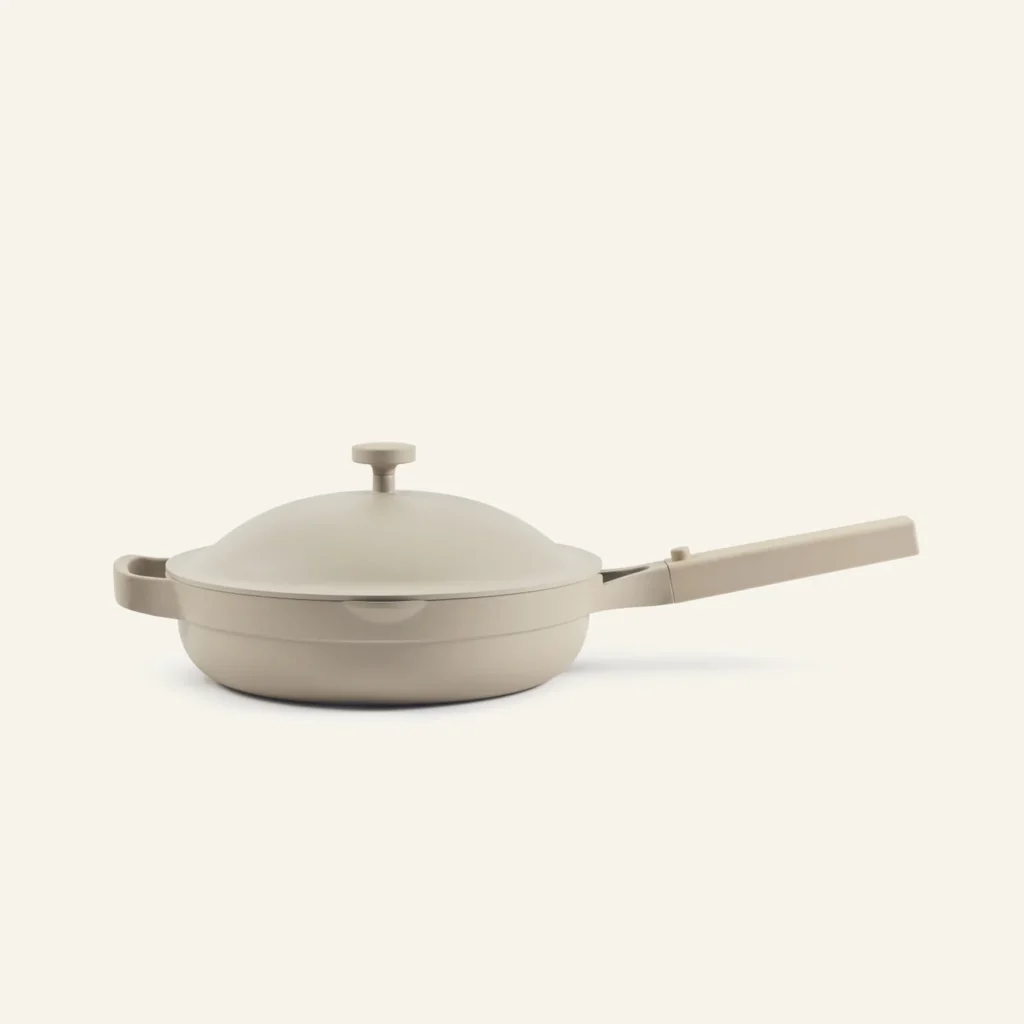


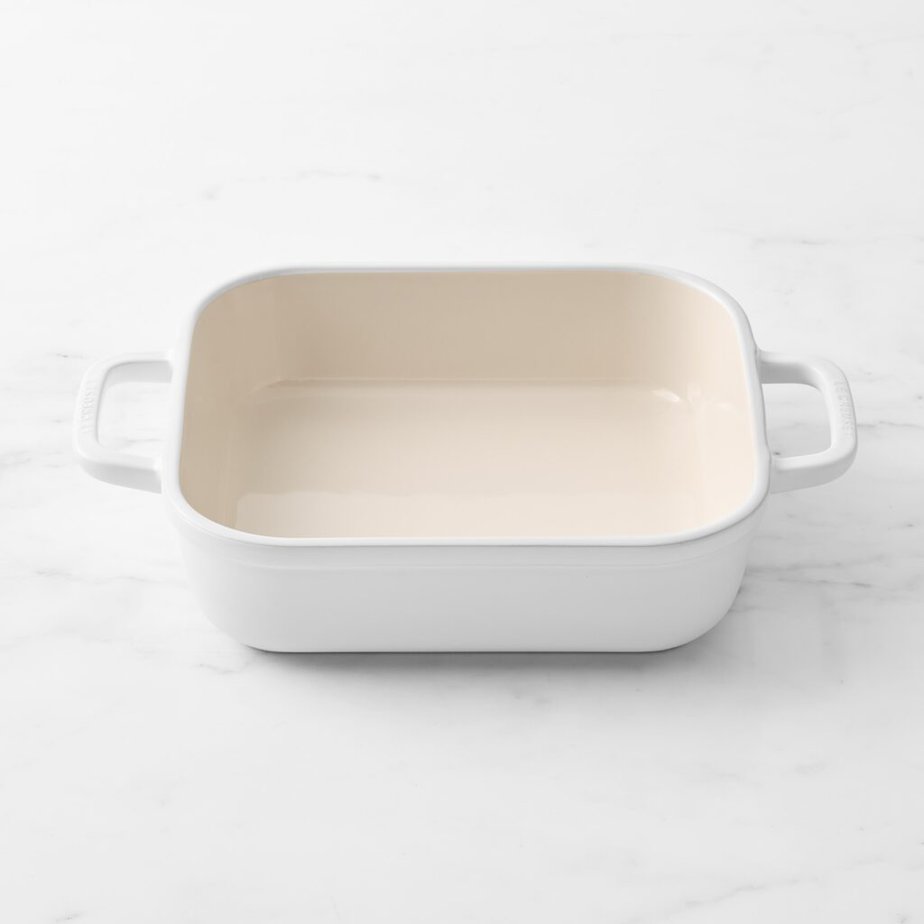
Click on any of the pictures or items above to shop directly.
The Real History of Bannock
But first, I need to share the history of Bannock and a little bit more about my people. There are two different types of Bannock, the modern Bannock we know and love today and the one my ancestors created thousands of years ago.
Modern Bannock
Modern bannock was actually a food that was introduced by the early Scottish settlers, explorers, and traders. It wasn’t until their interaction with the Métis people (people of French Canadian, and Indigenous descent) in the eighteenth century, that the modern-day bannock was created.
The delicious flour-based bannock became popular with Indigenous and Mètis people because of its convenience and the ability to store it for long periods. It also made for a good source of carbs, which were scarce during that time.
Indigenous Bannock
However, Indigenous people had their version of the bread, which was made from corn, nuts, and small flowering plants like camas. In most instances, the camas bulb, or corn was harvested and then baked for long periods. From there the ingredients were dried and chopped until they formed a powder. Which, with a bit of water and heat, turned into loaves.
Similar to modern bannock, Indigenous peoples had variations of this recipe according to different regions. Some tribes would add fresh fruit, nuts, or other additional ingredients. These variations also included the way they were cooked, some preferred to sand and pit-cook theirs, while others toast over an open fire.
Before we get into the recipe, I wanted to share one more thing. I hinted at it above, but did you know there are many different names for Bannock? Each tribe and region has a different name for it. Our community calls it scone, others call it frybread. But it’s all very similar if not basically the exact recipe.
The Best Fried Bannock Recipe
My family today also has two different styles of cooking bannock. My grandmother always preferred to bake hers, while my mom liked to fry hers. Both have the exact same ingredients, just prepared differently.
The Best Fried Bannock Recipe
Course: AppetizersCuisine: Native American, IndigenousDifficulty: Easy4
servings25
minutes15
minutes353
kcal40
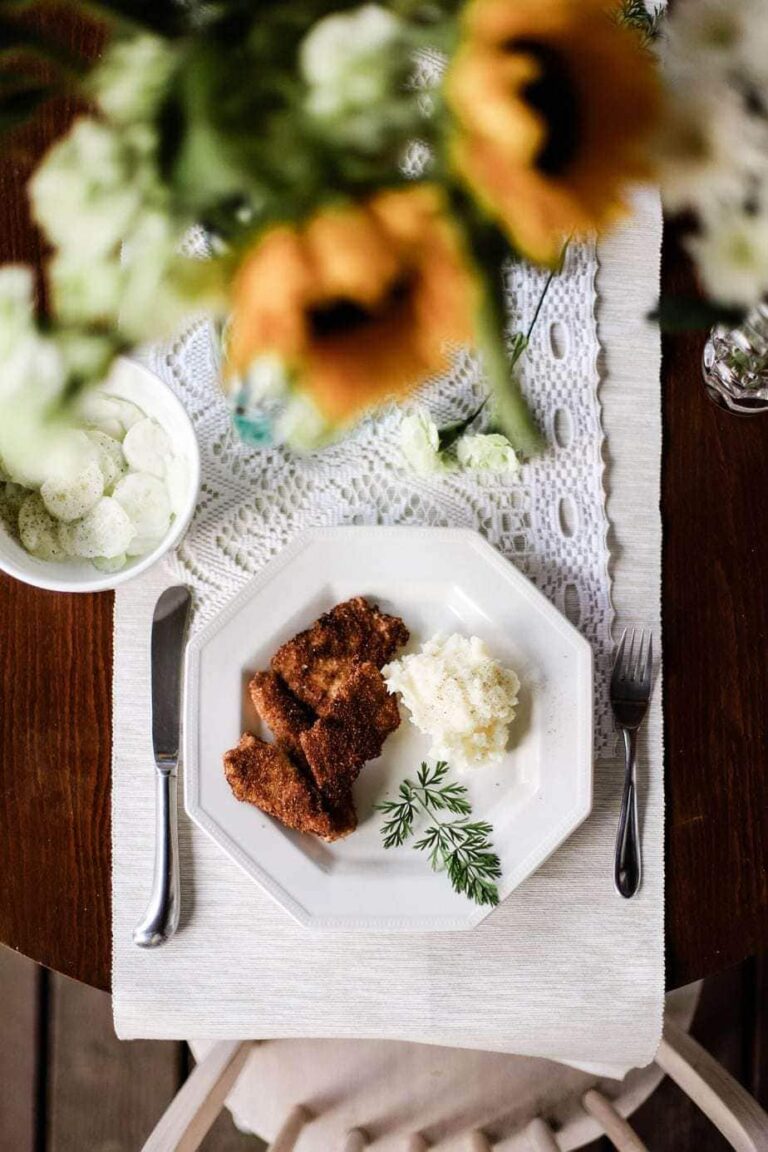
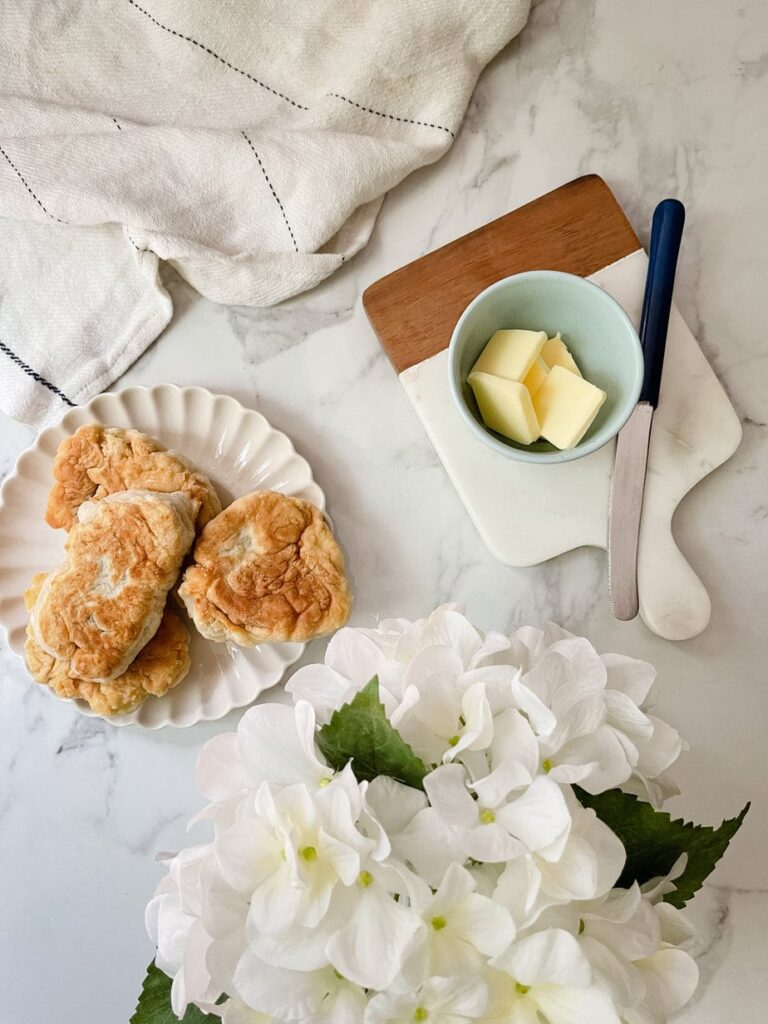
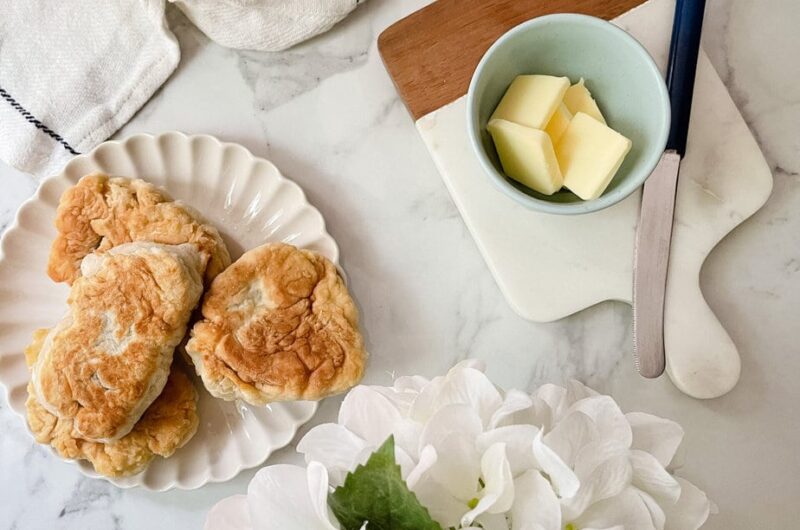
minutesThe best-tasting fried bannock recipe you’ll ever try. It’s extremely simple, but a great appetizer or side dish for meals. Usually served by itself, alongside spaghetti, or wrapped around a hot dog (also called a scone dog). Toppings include butter, butter, jam, peanut butter, or cinnamon. But the options are truly endless. Best served warm.
Ingredients
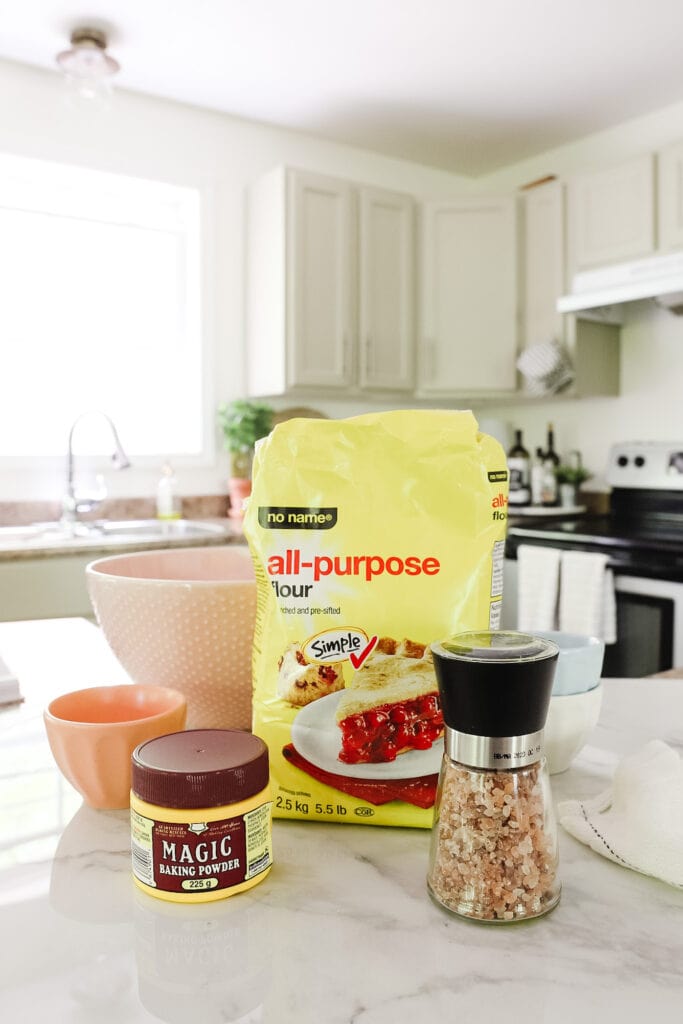
3 cups of flour
2 tablespoons of baking powder
1 teaspoon of salt
1 1/2 cups of cold water
1/2 cup of vegetable oil (melted butter or olive oil works as well)
Optional ingredients: My grandmother always added raisins, blueberries, or even Rhubarb
Directions
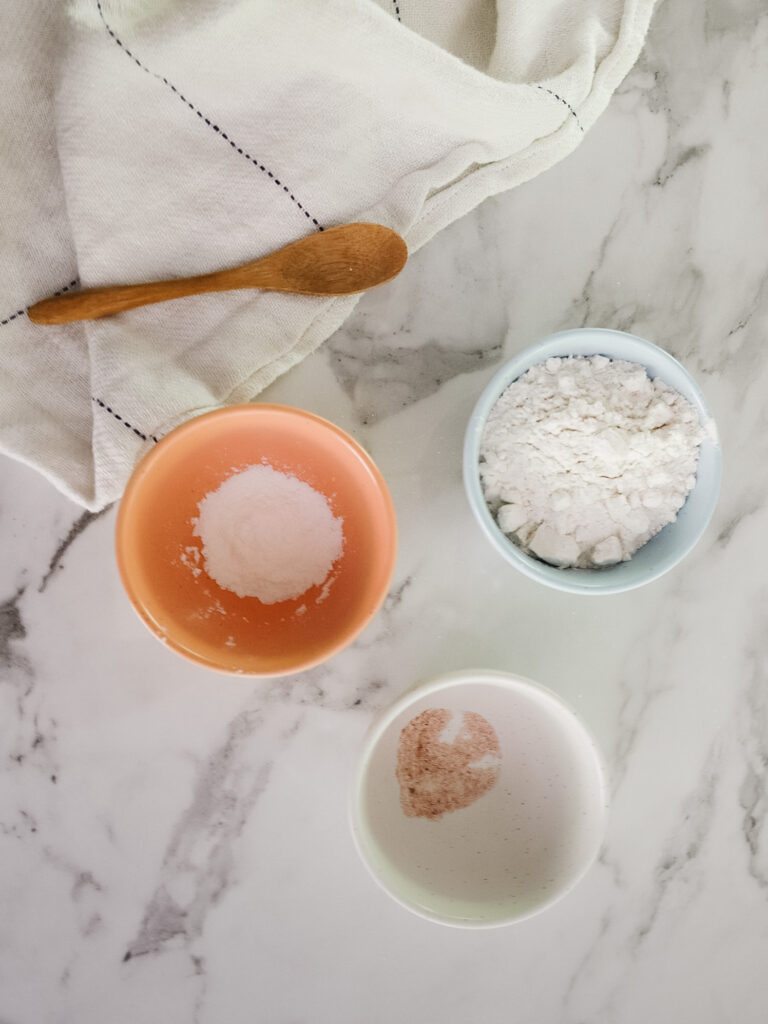
- Mix flour, salt, and baking powder
- Pour in cold water
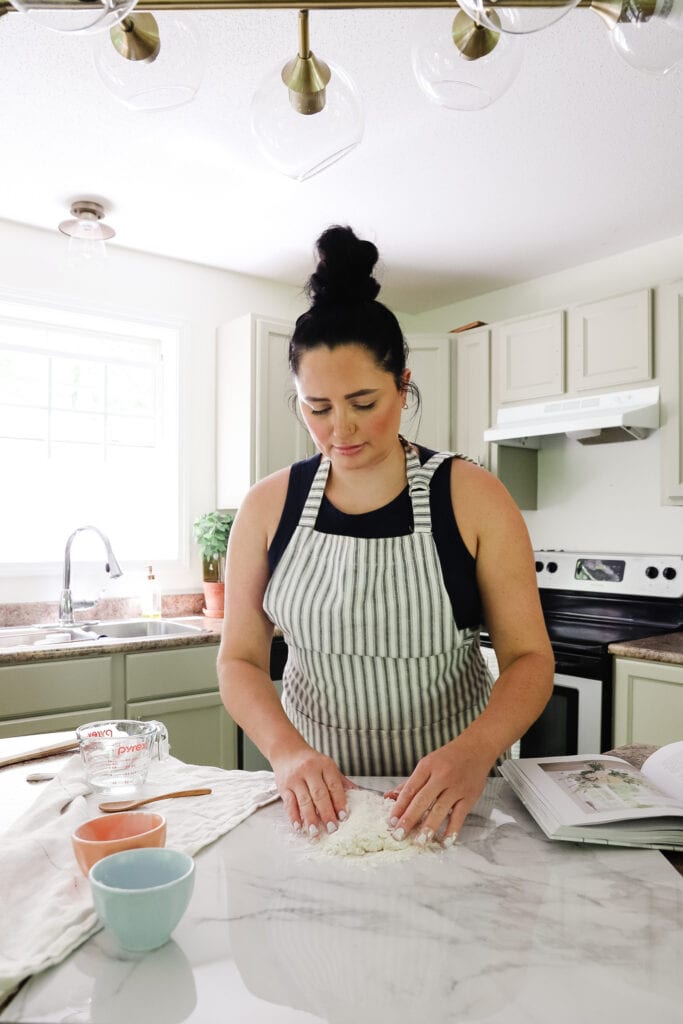
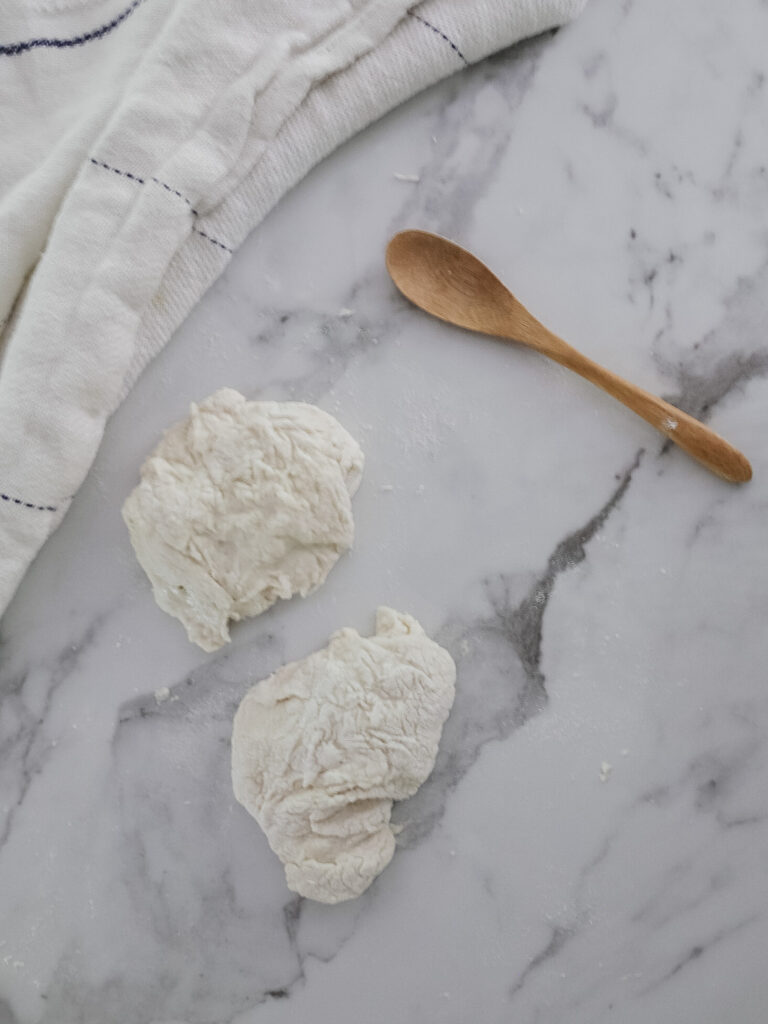
- Knead dough similar to how you would make bread
- You want to make sure the dough is a good consistency. Not too sticky, wet, or dry. You may need to adjust the amount of flour or water you add to the recipe.
- Once you’re done, cut the dough into small pieces the size of your hand.
- Heat the pan with enough oil to cover the entire bottom of the pan.
- The trick to knowing when the pan is hot enough is by putting a small piece of dough into the oil. Once it’s golden brown you can take it out and add your pieces of dough to the oil.
- Once the bottom is golden brown, use a fork to flip it once.
- They are done when the sides are golden brown. Be careful to remove the bannock from the hot oil, and place it onto a paper towel.
Recipe Video
Notes
- With such simple ingredients, there is no real right way to do it, it’s all about testing what works for you and your family
Baked Bannock Recipe
Baked bannock has the exact same ingredients and process as fried bannock. The only difference is the way it is cooked. Like the title says, it is baked in the oven instead of fried. I’ll share the details next.
Directions
- Preheat the oven to 375 degrees
- Pour batter into 9″ non-stick cake pan
- Once the oven is heated, place the bannock in the oven for 20 minutes
- When it’s done, let the bannock cool (until warm to touch)
- Cut into squares and enjoy while it is still warm.
Like fried scones, feel free to enjoy it with butter, jam, honey, peanut butter, or cheese.
The Secret Ingredient
Okay, as promised I am going to share the secret ingredient to making the best-tasting scone. I actually shared the secret in this reel. It’s a secret my community knows well, and one that my grandmother and great-grandmother and all the generations before passed down.
The secret to making bannock taste amazing and fluffy is to have a positive mindset while you prepare it. They say, when it’s made with love there’s a change that happens to the dough. It’s fluffier and tastier and you feel good when you eat it.
So the next time you make Bannock or any meal, try thinking positive, happy thoughts and I bet it will turn out to be the best meal you’ve made.
In case you were wondering, there is a science behind this “secret ingredient”. It was explained in this study, by the University of Maryland which basically said that things done with good intentions yield better results.


Tools You'll Need