How to Frame a Tiny House – My Sisters Tiny House Build
Post Summary: It’s time to catch you up on my sister’s tiny home build, and we’re starting with everything is everything you need to know about framing a tiny house.
I’m so excited that we made the decision to share my sister’s tiny home build on the blog! But first, let’s take a step back. Over the last year, we’ve had many conversations about the price of rent, and increasing interest rates, that make owning a home feel out of reach for a lot of young people. My sister who is in her mid-20s thought home ownership was going to be out of reach entirely, that is until we broached the subject of building a tiny home.
But with a small budget, we questioned if that was even possible. But you know me, I love a good challenge!
So here we are, with a $30,000 budget, armed with my dad’s contracting expertise and of course my love of small space design.
We’re full steam ahead and I’m going to catch you up on a few things, like preparing my mom’s farm which was previously untouched for decades. Mind you, this entire project gave me a lot of food for thought when it comes to my own children and the things we can do to set them up for success, like buying land.
I will say that I looked into building a tiny home in our area, and if you’re hoping to get a mortgage it sounds like it can be rather difficult. Maybe that’s a topic we can chat more about in a later post, but I received several emails from readers who had tried to build their own tiny house but were turned down by banks. But today’s post is about framing a tiny house, and hopefully having tiny house walls in less time than it would take otherwise.
Keep reading to find out all about framing a tiny house in a step-by-step tutorial.
Framing a Tiny House – My Sister’s Tiny Farm Journey
The appeal of the tiny house movement has gathered many to consider owning their own tiny house, a notion that considers minimalism, affordability, and sustainable living at the forefront. Since building the structure of a tiny house, often referred to as framing, is a critical step in the building process. We’re going to share a step-by-step tutorial on framing a tiny home, drawing from traditional and advanced framing techniques.
Choosing the Right Materials
Framing can be done using a variety of materials, which we’ll share below. We chose wood framing because it was what we were most familiar with and it was more cost-effective than steel framing. Here’s a quick guide to help you decide where to start:
Wood Framing
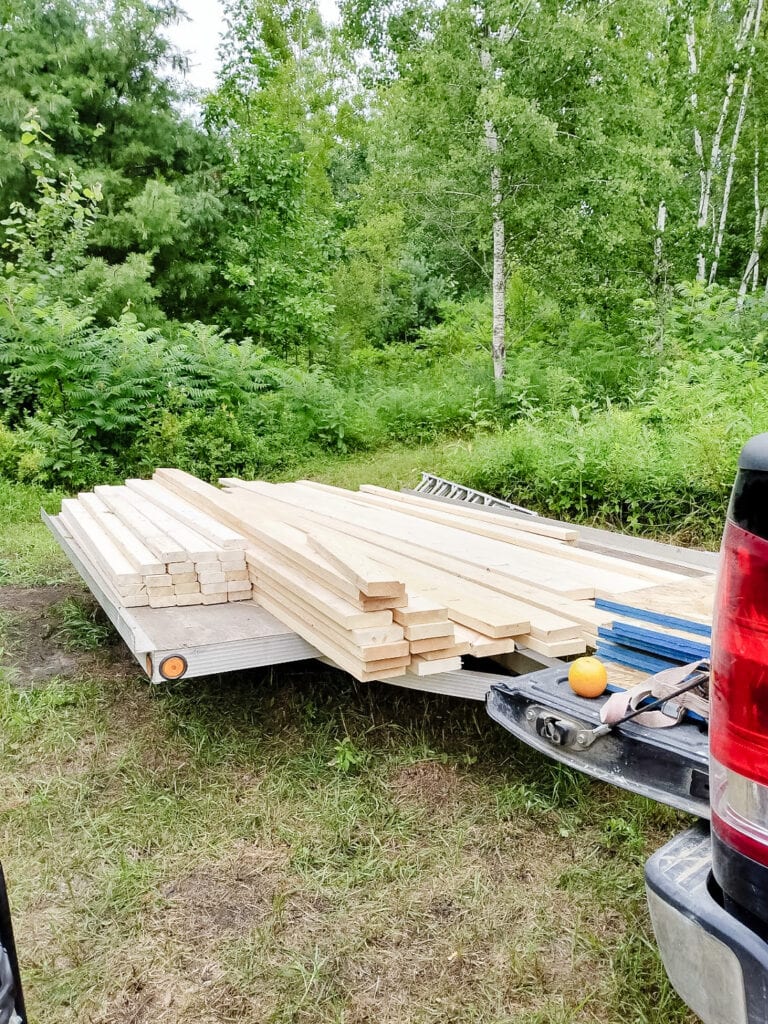
The most common choice for many builders. When using wood studs, it’s crucial to ensure that they are straight and free from significant knots. The majority of tiny house frames use 2x4s or 2x6s. Local lumber yards or big-box stores like Home Depot can be sources for these.
Steel Framing
This involves using steel studs. Steel frame offers increased structural integrity, and they’re resistant to moisture problems. Plus, in cold climates, using metal framing can reduce thermal bridging if combined with rigid foam insulation.
SIP Panels
SIP (Structural Insulated Panels) offers both structural strength and insulation. They can save time as they combine framing and insulation into one step.
Timber Frame
Typically used in frame cabins, this is a traditional method that showcases large wooden beams and joins.
Laying the Foundation
Before framing even starts, you’ll need a flat surface. Which in the world of tiny housebuilders, steel trailers are an option, much like a travel trailer, for mobility. Or like us, others may prefer using concrete form tubes for a more permanent setting.
It’s also a smart idea to consult local building codes to ensure compliance, and also address any permit applications.
The Build Process
Now that the foundation is finished, start by building the floor joist system. It provides structural support for the entire tiny house. Another thing that I hadn’t really considered with other builds was the type of insulation because a thermal break is essential to prevent thermal bridging. Which is in laments terms the heat loss in a home, and can increase the cost of energy usage from heating your home.
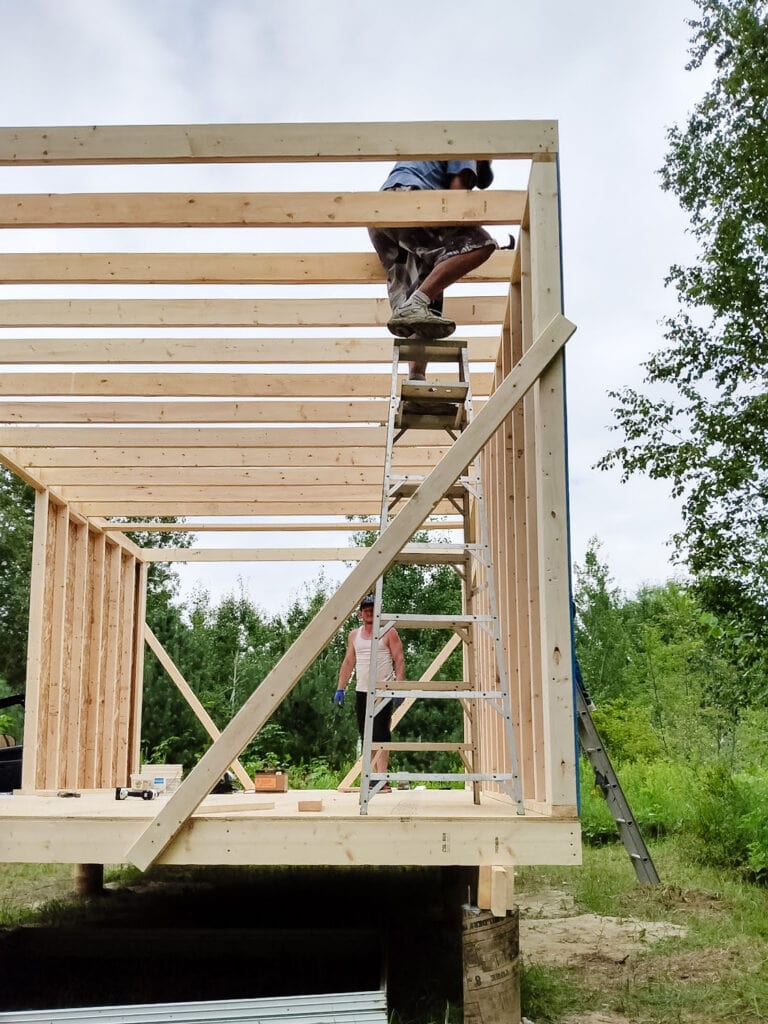
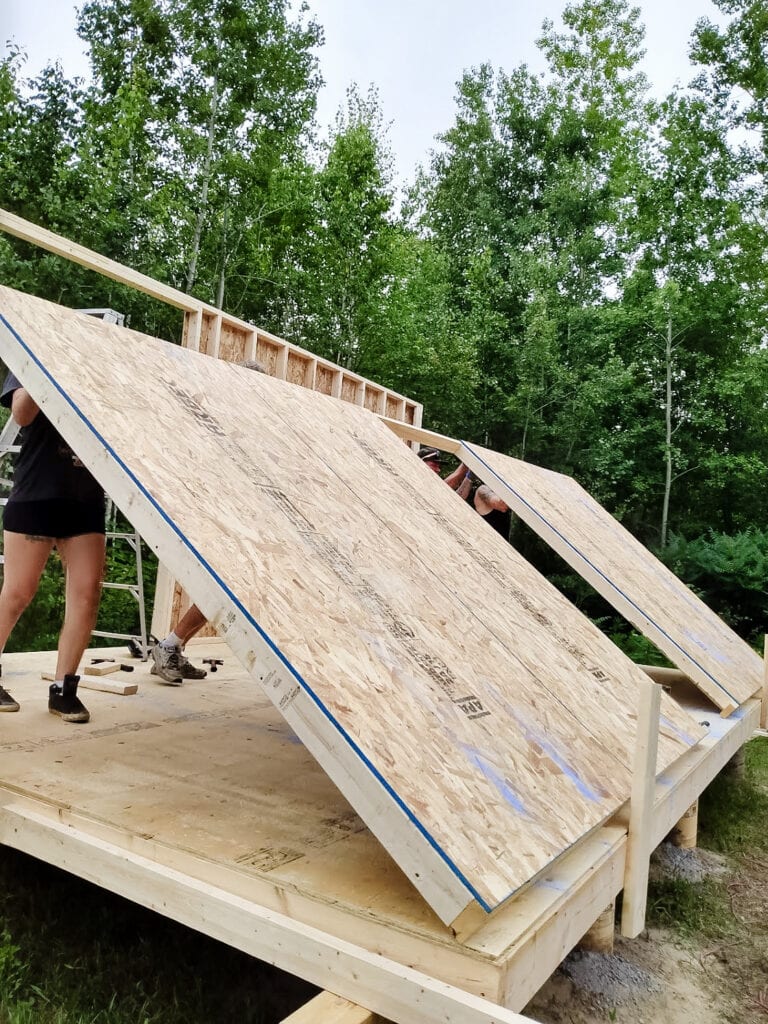
With the foundation set, the framing of exterior walls can begin.
Front and Back Wall
When it comes to figuring out where to start, we always suggest framing the front wall and back wall first. They provide the essential support for the side walls. Each wall frame usually starts with a bottom plate. For window openings, you’ll need king studs, jack studs, and window headers. For door openings, the process is similar but may need larger headers depending on the size.

End Walls or Side Walls
These are the walls that run parallel to the tiny house’s length. They often have more window openings, which can be framed using the same technique as the front or back wall.
Interior Walls
Less common in the case of a tiny house due to limited square feet, but if your floor plan demands it, always ensure they don’t compromise structural strength.
Once the walls are up, the loft framing and roof framing commence. Large windows can be a great addition to a tiny house but remember that they might require additional structural support.
For extra strength, particularly in windy areas, using metal strapping can be an excellent idea. Also, while traditional houses often use double top plates, in a lot of tiny houses, due to height constraints, a single top plate is used.

Final Touches
With the walls and roof in place, you have the skeleton of your tiny home. Now’s the time for exterior siding and house wrap to protect against weather conditions. The top of the walls can then be covered.
Insulation and Prevention of Heat Loss
Another thing that I hadn’t really considered with other builds was the type of insulation because a thermal break is essential to prevent thermal bridging. Which is in laments terms the heat loss in a home, and can increase the cost of energy usage from heating your home. So making sure you have good insulation is the key.
Tips for First Timers
Once the structure is up, consider the type of insulation you’ll need. SIP panels are one option, but there’s also traditional fiberglass, wool, or even recycled denim. Always consider moisture problems, especially in cold climates.
Hardware Stores
While big-box stores have a wide range of building materials, don’t overlook local hardware stores. They might offer a lower price or unique items.
Tools
A good nail gun is indispensable. Ring shank nails or framing nails can be sourced from hardware stores like Home Depot.
Consultation
For first-time builders, seeking advice from a structural engineer or professional tiny house builders is always a good idea. Moreover, don’t underestimate the value of a YouTube video from seasoned builders.
Quotes
Speaking of consultations, another great tip for anyone who is on a tight budget (or not) is to shop around and gather at least three quotes. Similar to our Cottage Kitchen countertops we were able to save even more by price-matching some materials.
Weather Conditions
Be mindful of external walls and weather conditions.
Building a tiny house can be much fun and a gratifying experience. Whether you’re a part of the tiny house movement by choice or necessity, the adventure of constructing your own tiny house is filled with learning, challenges, and joy. If you want to stay updated with more posts on tiny house projects, feel free to join our mailing list!
Remember, every tiny house starts with a robust frame. Whether you choose wood framing, steel framing, or even advanced framing methods, ensure structural integrity and the rest will follow naturally. Happy building!